


Walnut Trash Can
I know — the first two questions on some people’s minds would be why make a trash can, and why use walnut for something utilitarian? And I admit I don’t really have a good answer, other than the other accessories I’ve made for this new bathroom are all walnut, and I’ve never made a trash can before, so why not?
Actually, to make the first one I probably should have used some cheap wood that I wouldn’t be upset about wasting. But I didn’t; I dove in the deep end.
This was another one that I didn’t draw up first, but I knew roughly what size can I wanted to make — I wanted to replace the trash can in our bathroom, which was thin oak and broken on one side.
A little time browsing to see what was out there, though, and I found myself revising an old friend — the website blocklayer.com. There I was able to experiment with variations until I came upon what would be the final design, and then print out the page with all the math done for me.
So I needed 8 segments 14-3/16″ long which tapered from 5-5/32″ at the top to 3-15/16″ at the bottom, and with sides angled in at 22.4 degrees. And I knew from experience that any error would compound over the segments — actually I assumed there would be error, and left the pieces 3/4″ thick so I would have room to sand or plane them to make the joints fit.
To make the staves, I first cut my walnut pieces to 5-1/2″ wide and 14-3/16″ long. I then worked out and drew on the piece the angle I needed and tipped the saw blade to 22.4 degrees. Then I took a scrap of plywood, a few blocks of wood and some CA glue, and made a temporary sled to cut the first side of all 8 pieces. Next I took off the blocks and put on new ones to cut the other long sides.
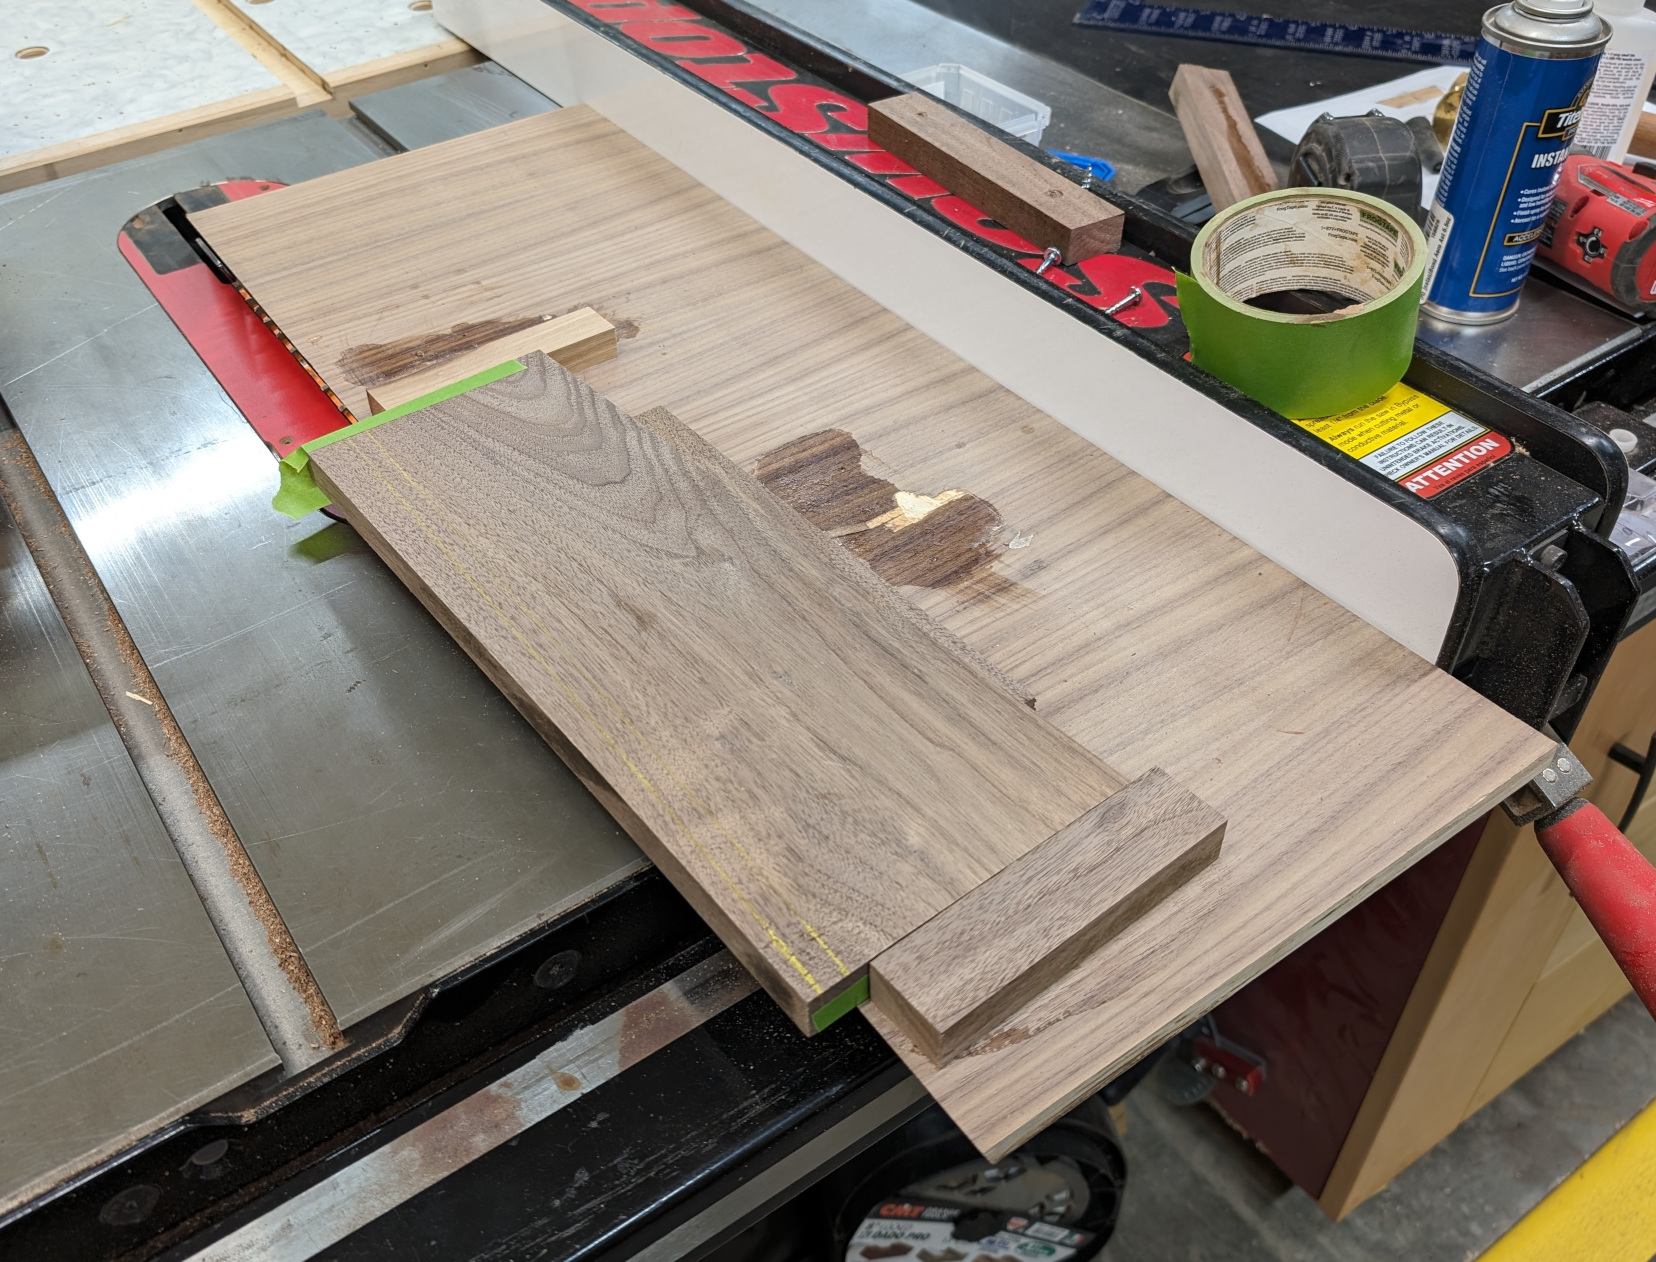
The short sides only needed a 2.5 degree tilt to the blade and could be run right against my rip fence. I pieced them together with tape to see how badly off I was … and was shocked when they fit together perfectly! So I threw on glue and clamped the pieces together with a couple of ratchet straps.
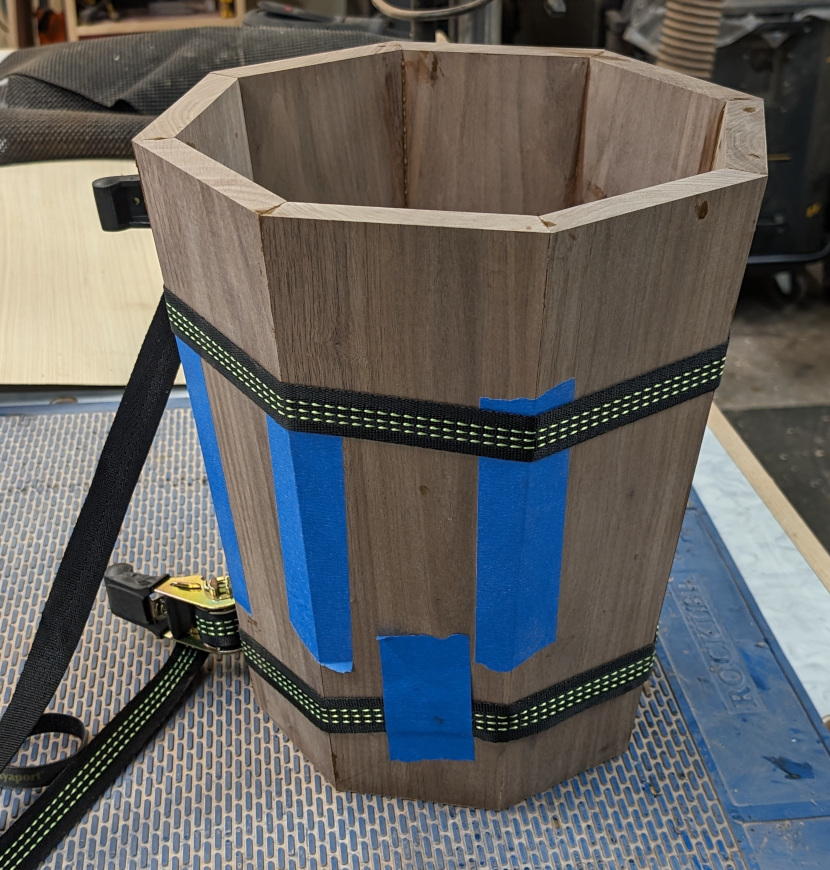
These pieces fit together so well I didn’t even need any filler along the glue lines. About half the glue lines disappeared because the grain match was so good (partly by design, partly luck). Since the joints are all side grain to side grain and the pieces matched to well, I didn’t do anything but glue.
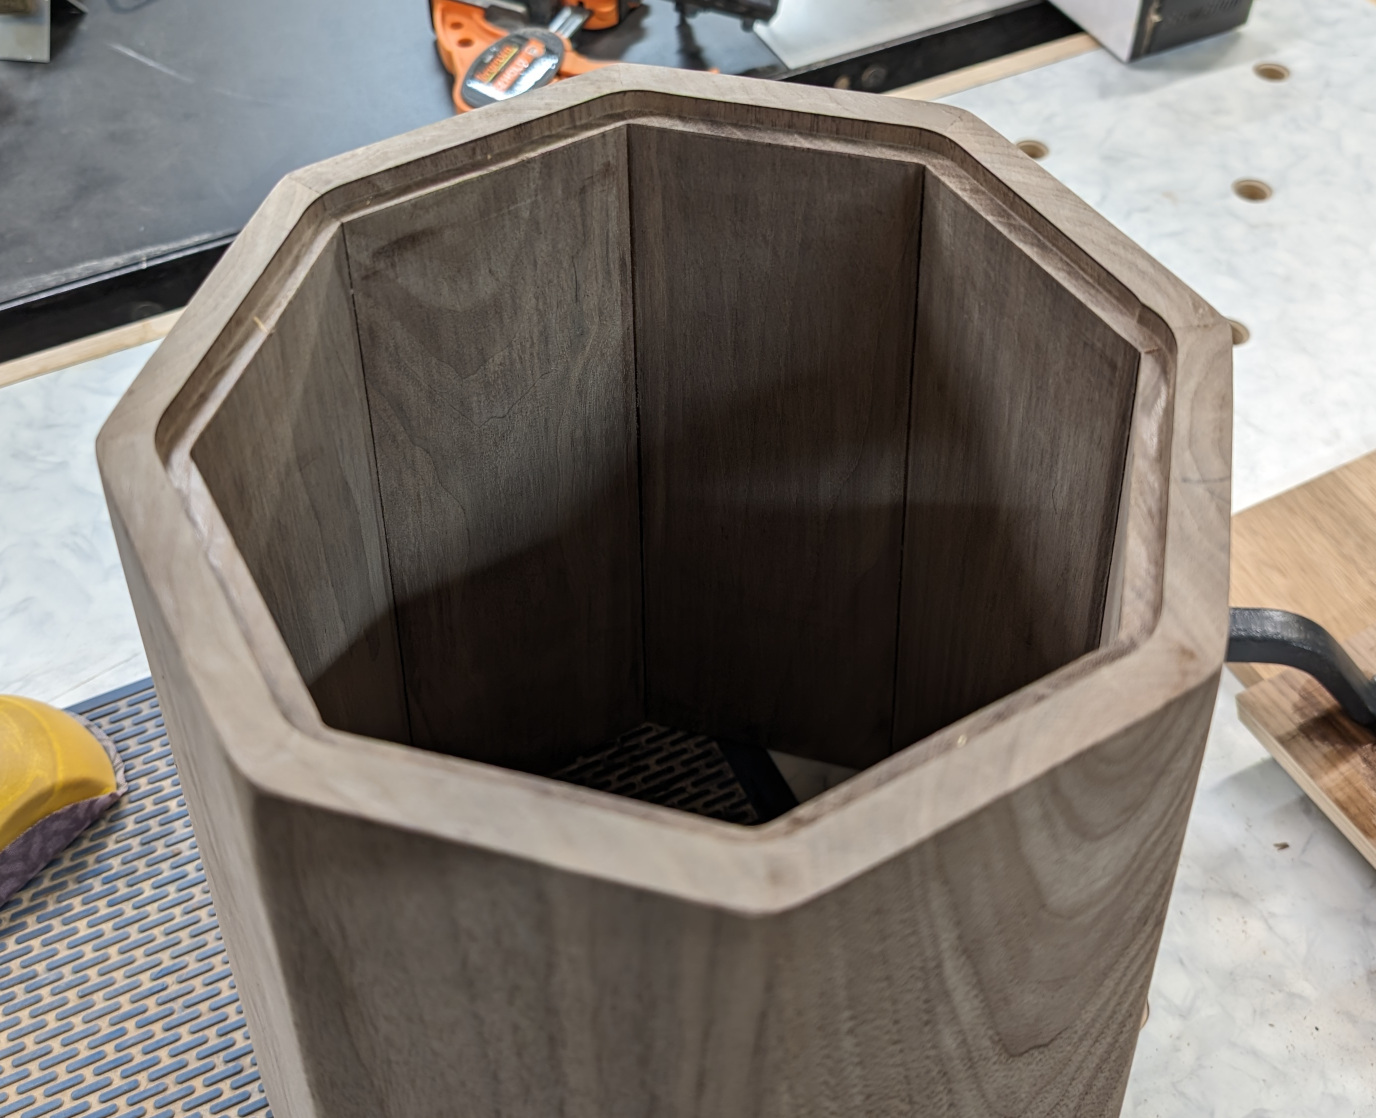
When the clamps came off I sanded the inside and out and started thinking about a bottom. I’d used my 1/2″ walnut plywood to make the sled — no forethought there — but I had a ton of 1/4″ plywood in other species. I also had a fairly big piece of leftover walnut veneer from the vanity. This would work.
I first rabbeted the bottom of the can to make a recess for the bottom.
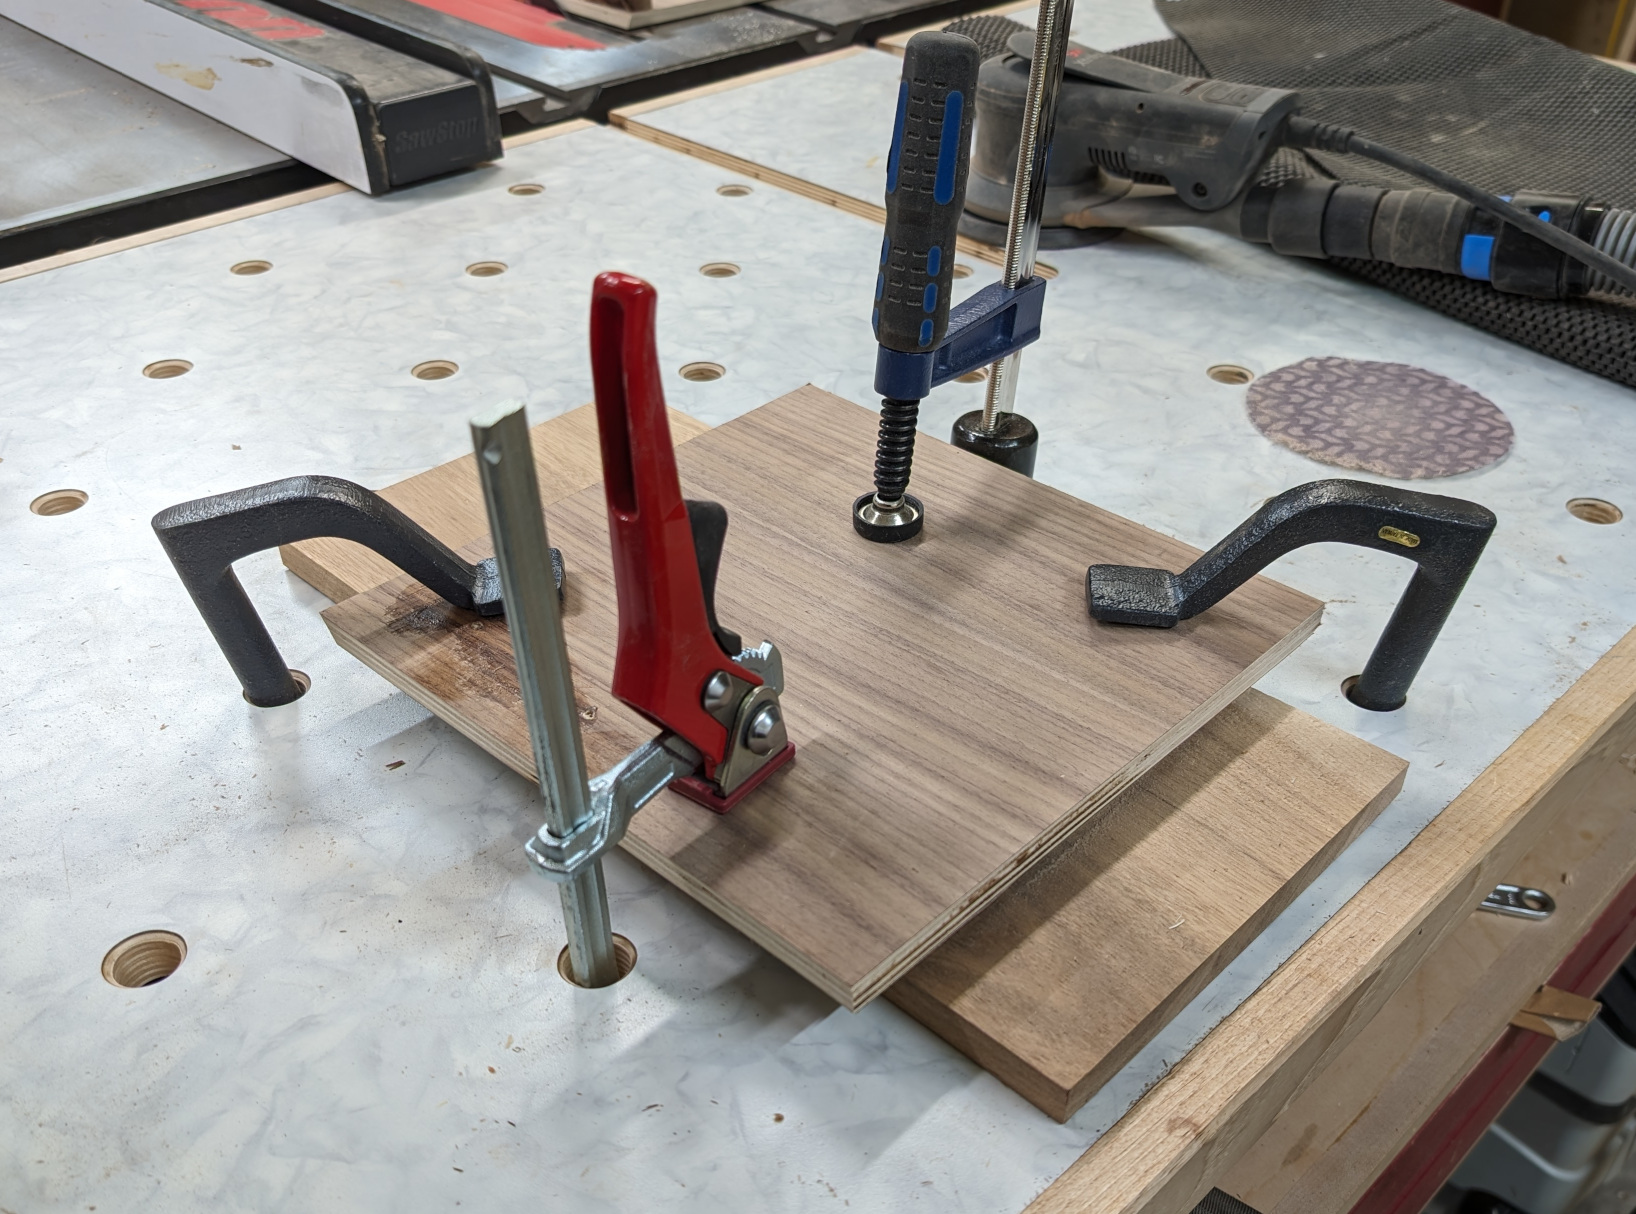
I cut a piece of the plywood down and shaped it to fit. Now all I needed was to rig up a small veneer press.
Once that glue was dry, I trimmed the veneer and fitted the bottom into place. The just left some final sanding and a few coats of Arm-R-Seal (it’s going into a bathroom, after all).
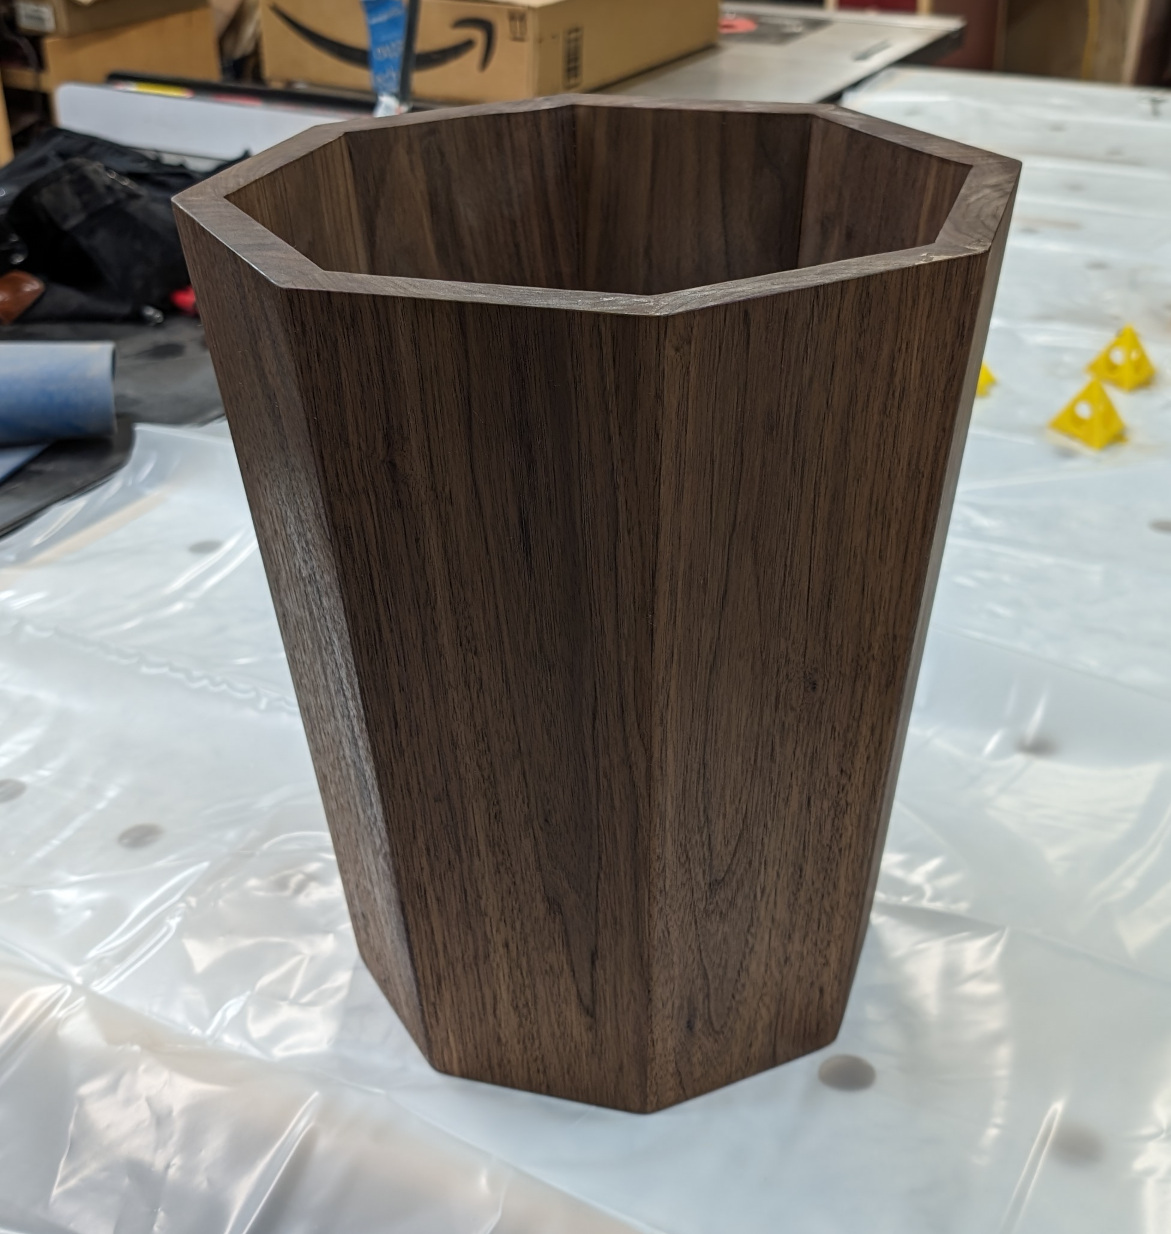
I’m ridiculously happy with how this turned out.
Recent Comments