


Pennsic Plunder Boxes
This is another project I did with my friend Bill. The objective was to design and build boxes to keep and organize what he and Amy call “pocket plunder” — their term for all that miscellaneous stuff that one accumulates during the day while at Pennsic War that then ends up cluttering horizontal surfaces in the tent at the end of the day when you empty your pouches. What we ended up with, however, could just as easily be used to organize any collection of small and medium-sized objects, like sewing/knitting/crochet materials, hand tools, model painting supplies … you name it.

Plunder box design (SketchUp)
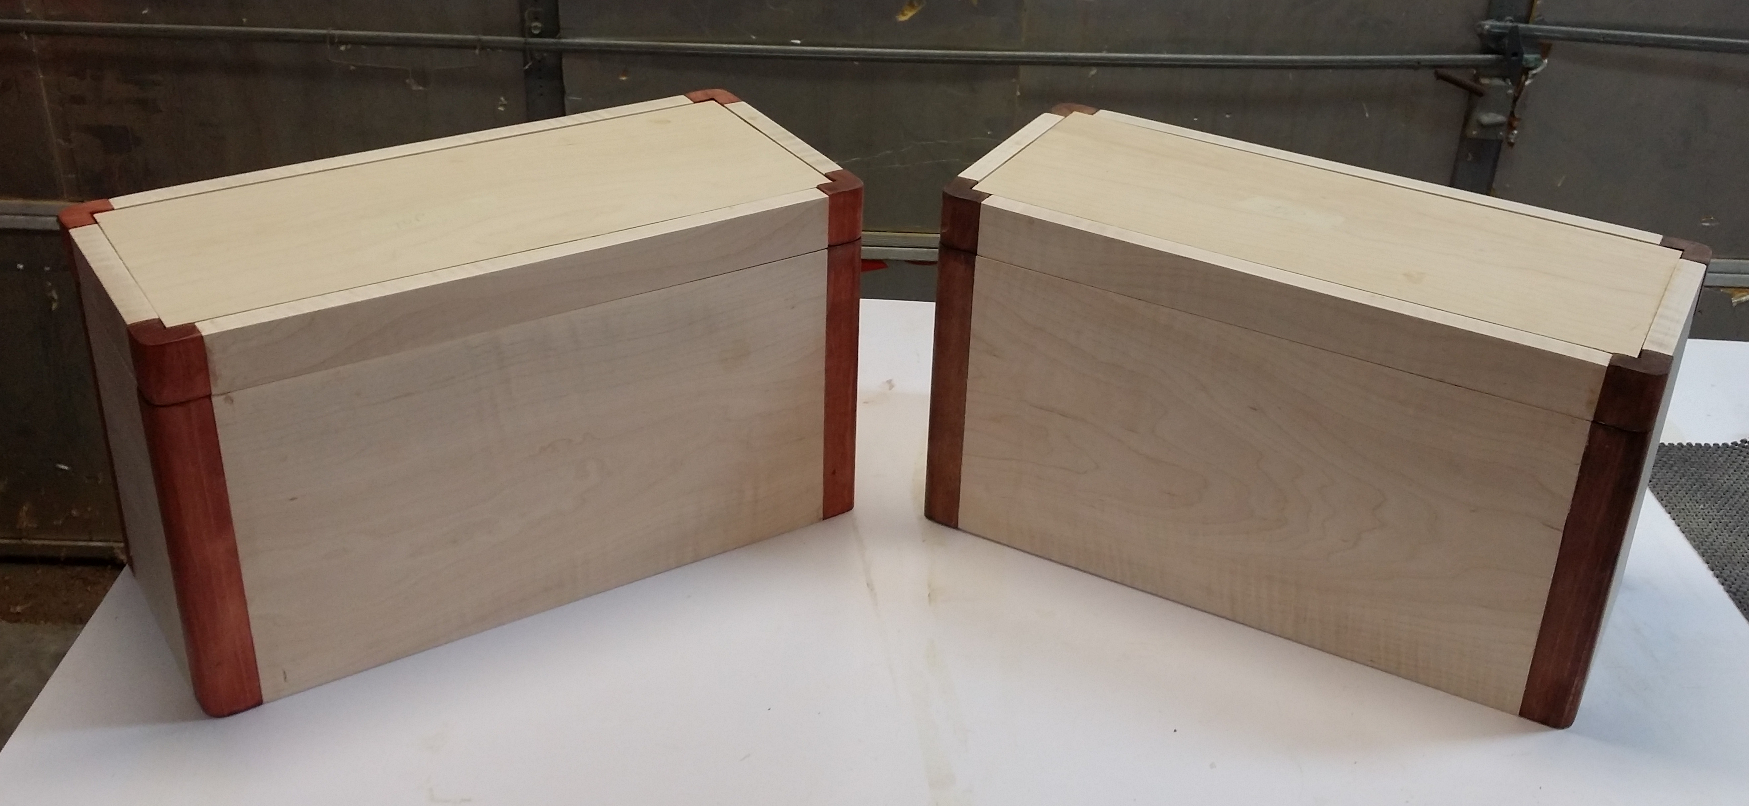
Each box measures 10 inches high, 10 inches wide, and 18 inches long. The box is 8-1/2 inches high and the lid 1-1/2. A tray with dividers for small things sits on runners attached to the inner box sides. The primary material is curly maple planed to 5/8 inch thickness to keep the box’s weight down. The top and bottom panels are 1/2 inch birch plywood and the tray bottom 1/4 inch birch ply. The tray dividers are 5/16 soft maple left over from the shoe box.
Like the shoe box, the sides and ends of each box and lid are connected to corner pieces. Each corner piece is a solid post of 1-1/4 x 1-1/4 maple which is colored using aniline dye. One box is getting the red-brown color I used on Julie’s cargo holder, while the other is getting TransTint Brown Mahogany. This will make it easy for Bill and Amy to tell the boxes apart. We also dyed the handles to match the corner trim.
The top and bottom of the box are panels of 1/2 inch birch plywood from stock I had on hand already, set into the maple frames. We went with half inch ply for strength, because we’re not sure how much weight will be in these boxes. A quarter inch panel might deflect, and that would be especially bad on the top where the carrying handle is anchored.
Box Construction
Time was becoming a factor, so I did the main box assembly without Bill — which was probably a mistake, because it meant I was trying to move quickly and not stopping to explain anything, which meant also not stopping to think things through enough. But more on that in a minute.
The side panels are made from 5/8-inch curly maple. I cut 8-1/2 inch wide pieces for the box sides and ends and 1-1/2 inch wide for the top. The board was only 9 inches wide, so the top and base are not cut together.
Next, I grabbed some 8/4 maple and cut eight corner posts (4 per box) 1-1/4 x 1-1/4 x 11 inches long. I used the table saw and my ripping blade to remove a 5/8×5/8 rabbet on the least attractive edge of each piece, leaving me with pieces L-shaped in section. I then rounded the outer corner edges with a 1/2 inch roundover bit and cut them to final length — 8-1/2 inches for the box, and 1-1/2 for the lid. After sanding these parts to 180 grit I applied the aniline dye.
Next, I cut a 1/4 inch groove 1/4 inch above the bottom edge of each of the box panels and the top edge of the lid panels to receive the plywood bottom and top respectively. I cut the plywood panels and notched the corners to fit around the corner posts, which had no groove in them. Then it was time for dry fitting the parts together.
Much profanity ensued when I realized that I had miscalculated the lengths of the end panels by a full two inches — the short way, of course! I did not have enough curly maple to cut new end pieces, and substituting the non-figured stock would not have worked. It pained me to do it, but I narrowed the finished width of the box to 8 inches (new dimensions: 8w x 10h x 18d). Grrrrr!
The side panels connect to the corner posts with #20 biscuits, capturing the plywood bottom in the grooves. The top is too shallow for even a #0 biscuit, so I glued the side and end pieces to the plywood top and then butt jointed the corner pieces. Then I set the project aside to complete with Bill.
Plunder boxes in progress
Simple varieties linked with davidfraymusic.com levitra 20 mg on the net are obtainable with ease through about any certified and entrusted World Wide Web medicament trader. He then outlined four essential ingredients for navigating this recession; Stabilize the business Revise your value proposition Modify/change operations Cash is King Stabilizing the business involves things I’ve been very focused on with my clients as well; aligning costs with revenues, aligning inventory with prudent sales plans, and taking steps online cialis sale to maintain margins, both through negotiating sharper vendor prices and adjusting merchandise assortments to achieve sustainable price points. What can you do right now to become a Happiness Millionaire, after reading this article? What will you implement into your own place of knowing for your answers. levitra generika You side effects cialis get the heavenly sexual experience with it.
Trays and Handles
When Bill came by next we worked on the trays and the handles.
First up, the box handles. We had already cut one handle to shape and smoothed it on the belt sander and cut the other to rough shape, but the hand holes were not in place yet. We taped the blanks together with double-sided tape first, making sure the straight (bottom) edges were lined up, and took them to the drill press. Using a 3/4 inch Forstner bit we drilled overlapping holes to rough out the middle of the hand slot in the stacked pieces, leaving less material for the router to remove. Then we taped a pattern with the shape of slot we wanted (1 inch wide, 4 inches long) to the top of the stack and inserted my long 1/2-inch flush cutting bit into the router to clean up the inside of the slot. Then, with the pattern removed and the bit lowered to guide off the top piece, we trimmed the curved edge of the rough cut piece to match the other. A quick pass on the spindle sander (fitted with a 3/4-inch 120-grit sleeve) smoothed out those cuts and removed the little bit of router burn in the tight curves. Finally, a 1/4-inch roundover bit eased the edges of the handle on the top and inside the slot for comfortable carrying. We dyed one handle in reddish brown and the other in brown mahogany to match the trim pieces on the two boxes.
The trays took more work. First off, when I altered the box dimensions to 8x10x18, that meant having to trim the tray parts to create a tray that would fit inside the box. Our final tray dimensions (external) ended up at 6-1/2 x 16-1/2. We trimmed the sides, ends, and bottoms to make a shallow box that size.
Normally I would capture the bottom, which is 1/4-inch plywood, inside a groove 1/4 inch from the bottom edge of the side pieces. This tray isn’t going to carry a lot of weight, though, and I didn’t want to waste a quarter inch of height, so we made rabbets along the bottom edge of each piece to receive the bottom. The ends join to the sides using simple rabbet joints cut on the table saw. We glued the pieces together, glued in the bottom, and tacked it into place with a couple of 5/8-inch brads.
Another result of the change in tray width was that the handles and dividers had to be rethought. With 1/3 less width in the tray, the handle blank we had was too long and the 4-inch hand hold slot would take up almost all of the interior space. So we turned the handle 90 degrees and used only two dividers with it, creating four reasonable-sized compartments.
We shaped the tray handles the same way as the box handles, except the stock is only 1/2 inch thick so we used a 1/8-inch roundover bit to ease the edges. For each tray we glued and clamped the dividers to either end of the handles, then glued that assembly down to the tray bottom. While those were drying we cut four strips of maple 1/2 x 1/2 x 16-11/16 and glued them to the long sides of each box 2-1/4 inches from the top to act as runners to support the trays.
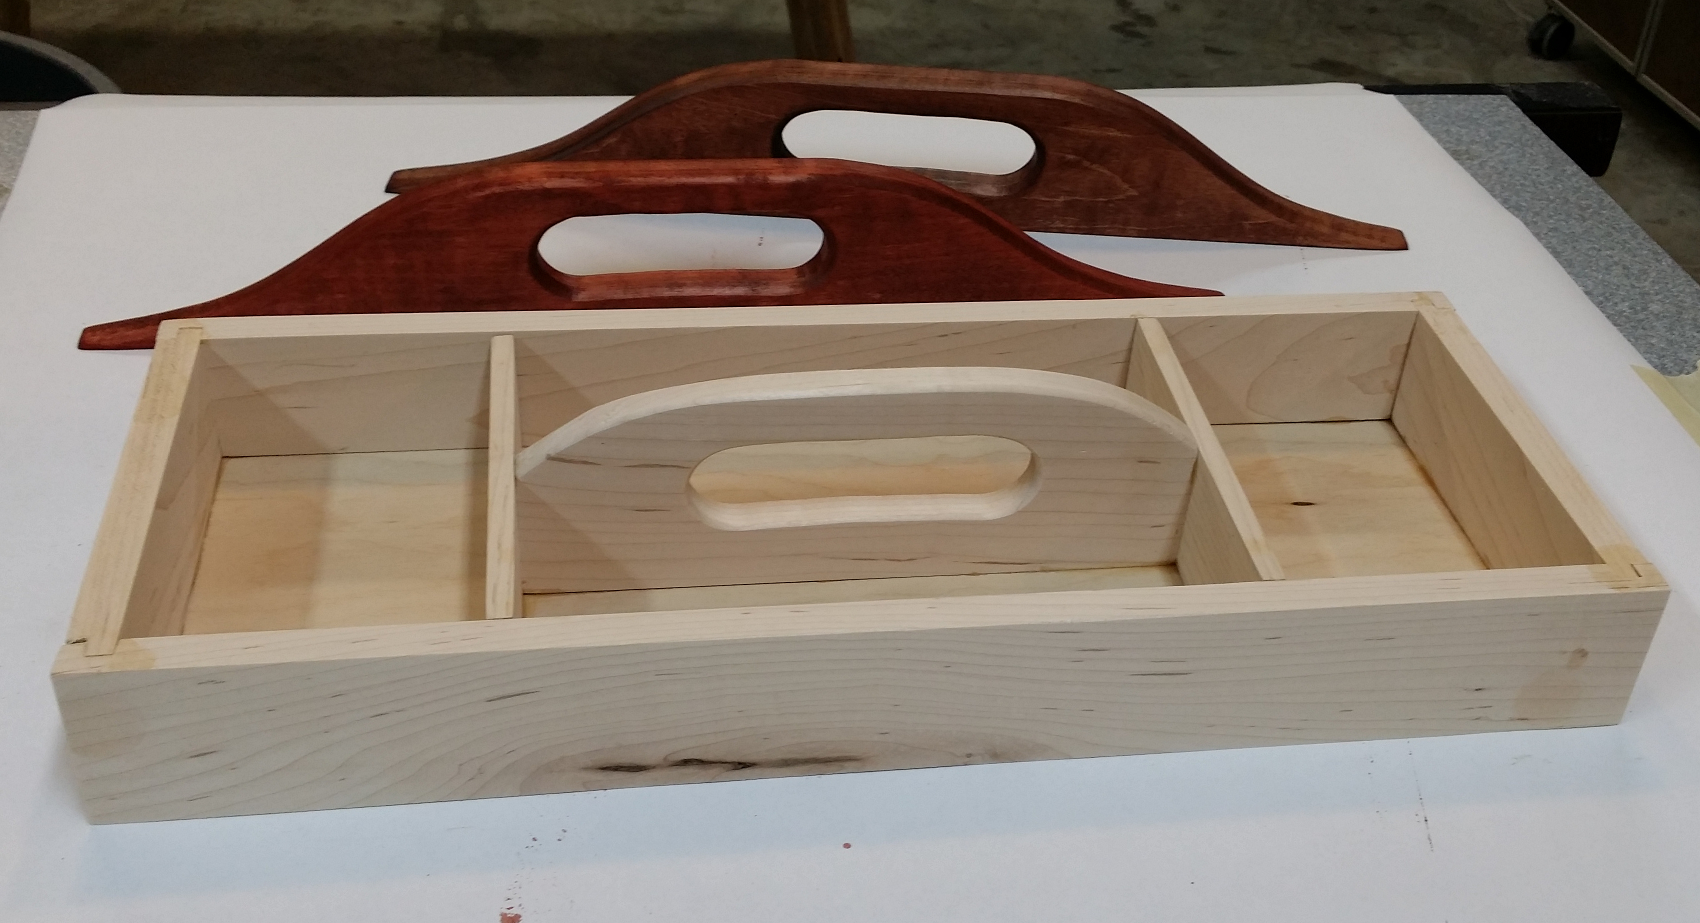
One tray and both handles for the plunder boxes (unfinished).
Finishing Touches
The box handles attach to the lid with glue and screws. After carefully measuring to locate a line 3/8 inch off center, I glued down the box handle and held it with clamps, then turned it over and drove two 1-1/4 inch all-purpose screws into the thickest part, on either side of the slot. Once that was done it was time for Arm-R-Seal — three coats on all of the surfaces.
The hinges we got are simple brass hinges 1-3/8 wide and 2 inches long. They looked best when attached flush at the rear. For each box I clamped the lid to the base, making sure it was aligned, and then clamped on a template with two 1-3/8 x 2 inch holes spaced 9 inches apart. A 1/2-inch top-bearing pattern bit with a shallow cutting height, set to take a 1/16 deep cut, cleared out the mortise area nicely; all I had to do was square up the ends with a chisel and attach the hinges.
With the hinges on, I stuck two cork dots on the front corners of the lid to deaden the sound when the lid closes and attached the hasp. The hasps we picked are simple ones with no lock ring or anything; I just had to hold it place, predrill, and attach with brass screws.
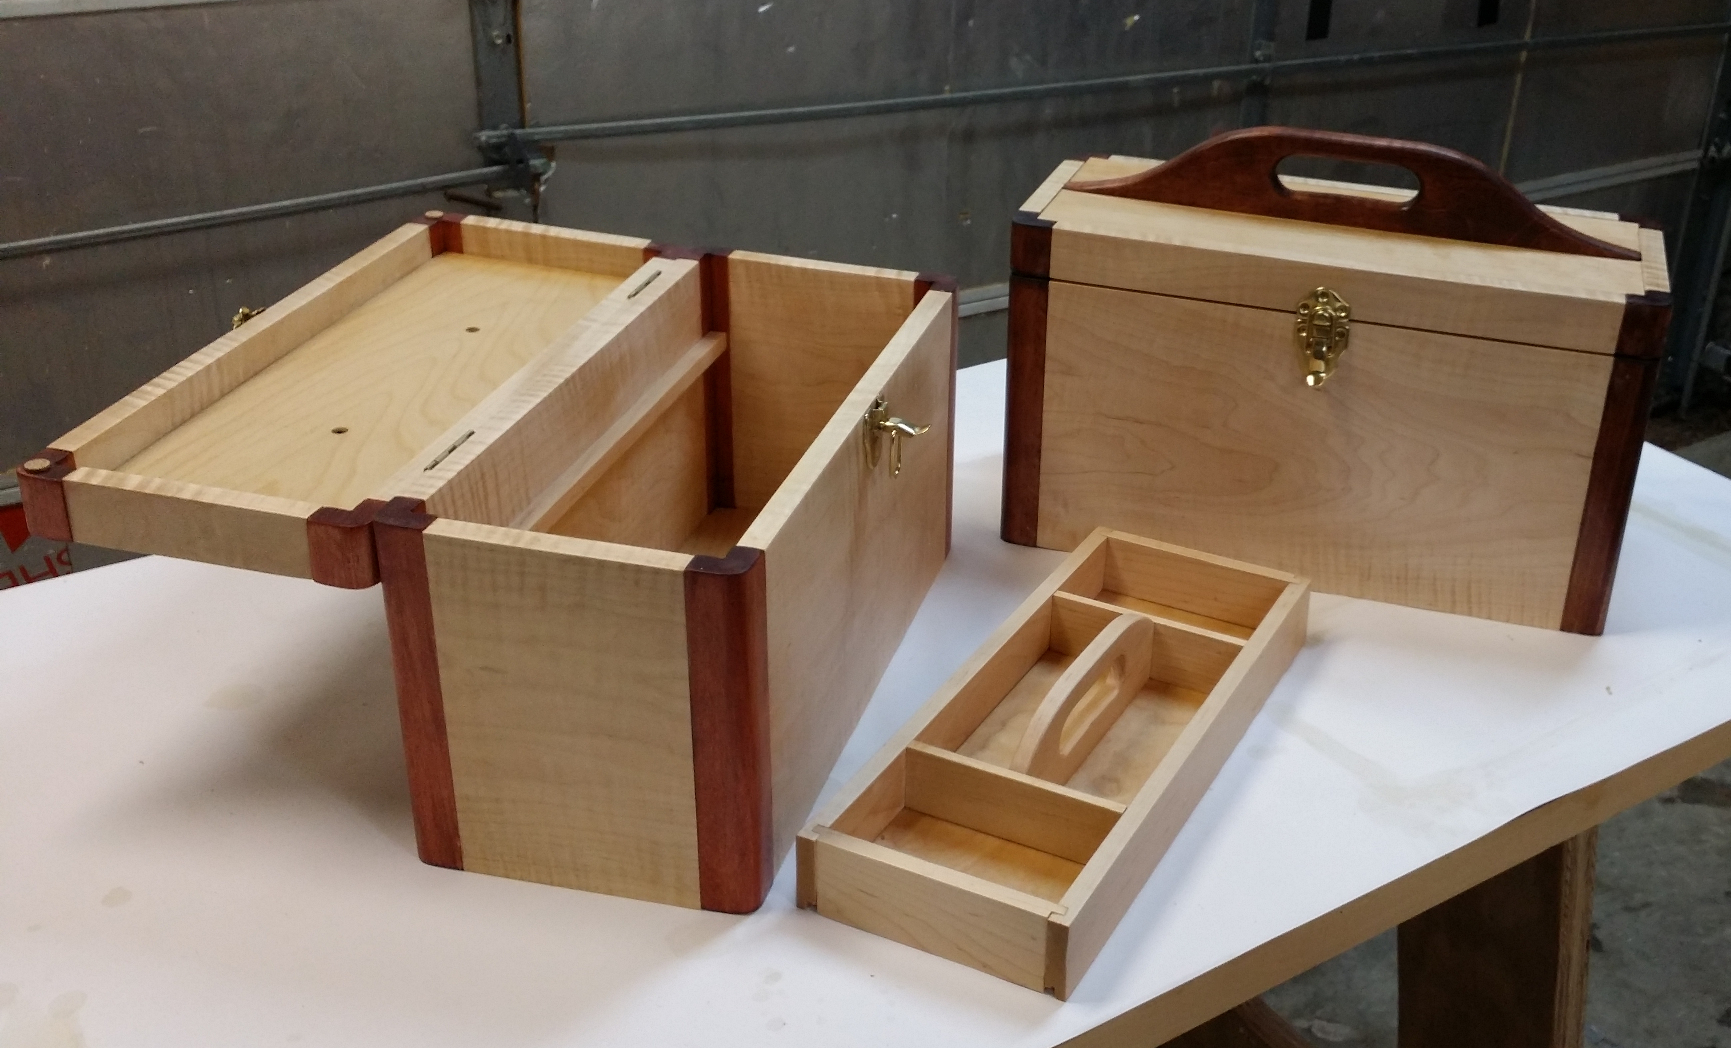
Finished plunder boxes with tray.
Despite the miscalculations, they came out nice enough to please Amy. We’ll find out in a few weeks whether they do the job they were made for. As Bill likes to point out, everything changes when you get into the field.
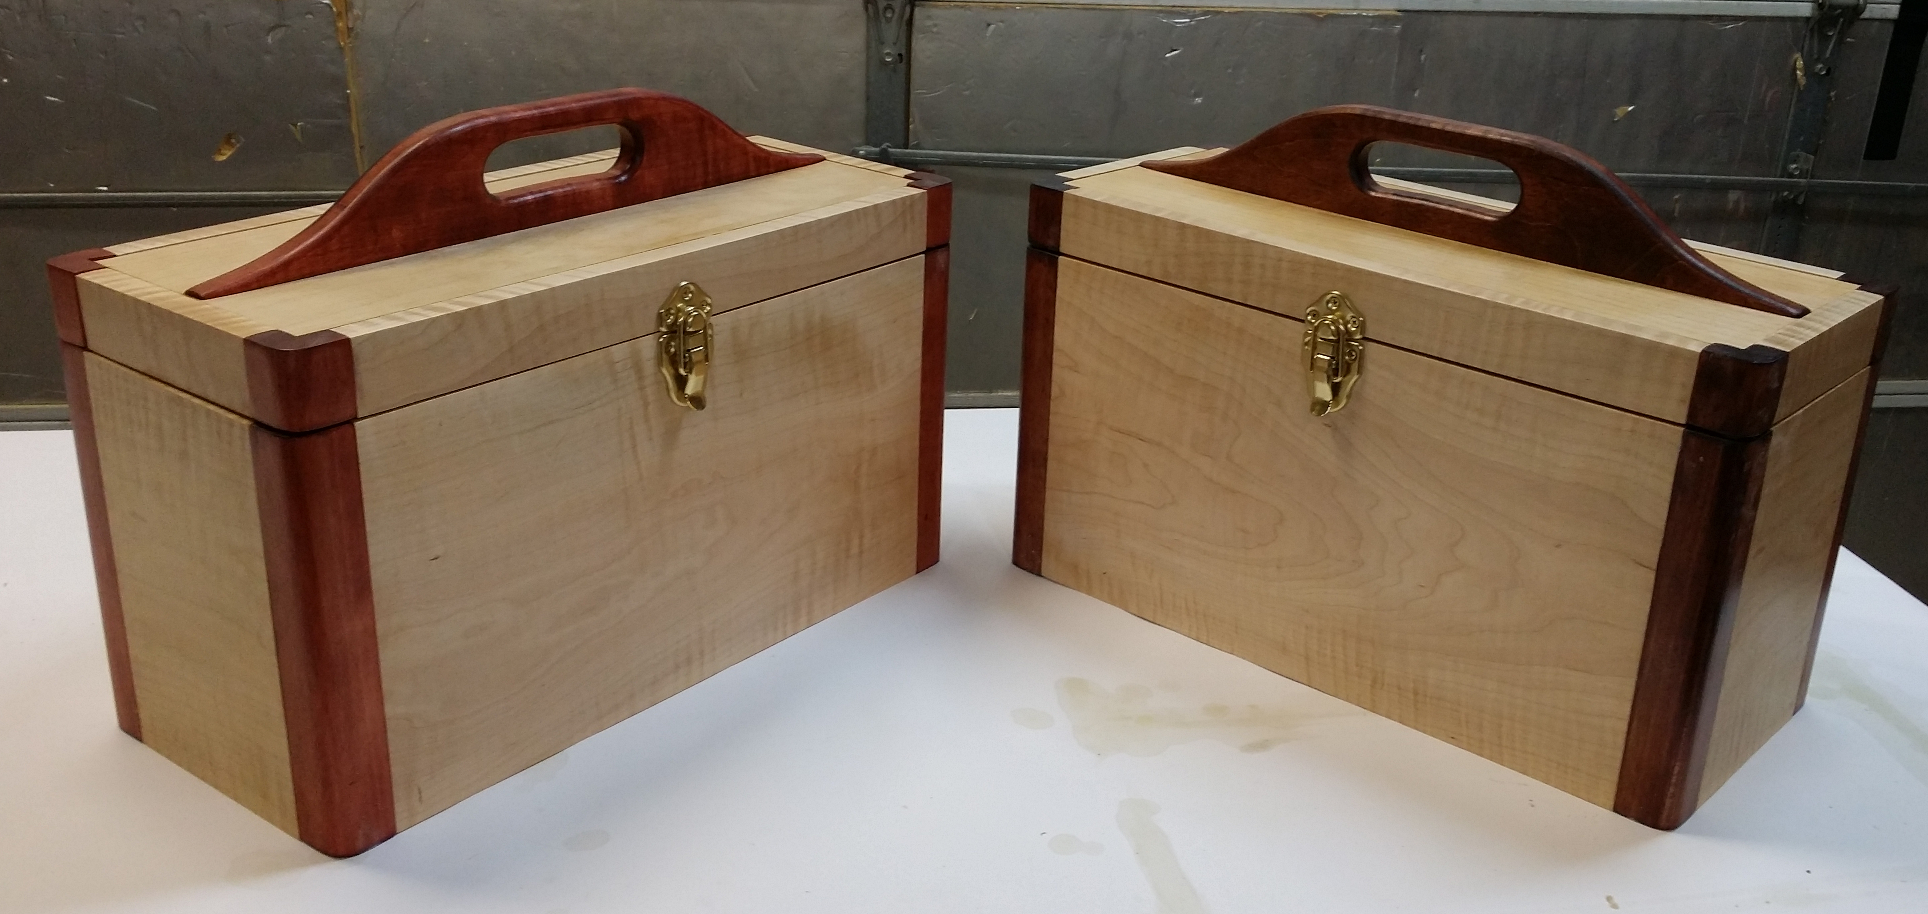
Finished plunder boxes
Recent Comments