


Rolling Storage Unit design
There’s one part of my shop that I’ve never shown you. It’s the area where I store lumber, sheet goods, and also the non-woodworking items that one normally keeps in a garage. Here it is:
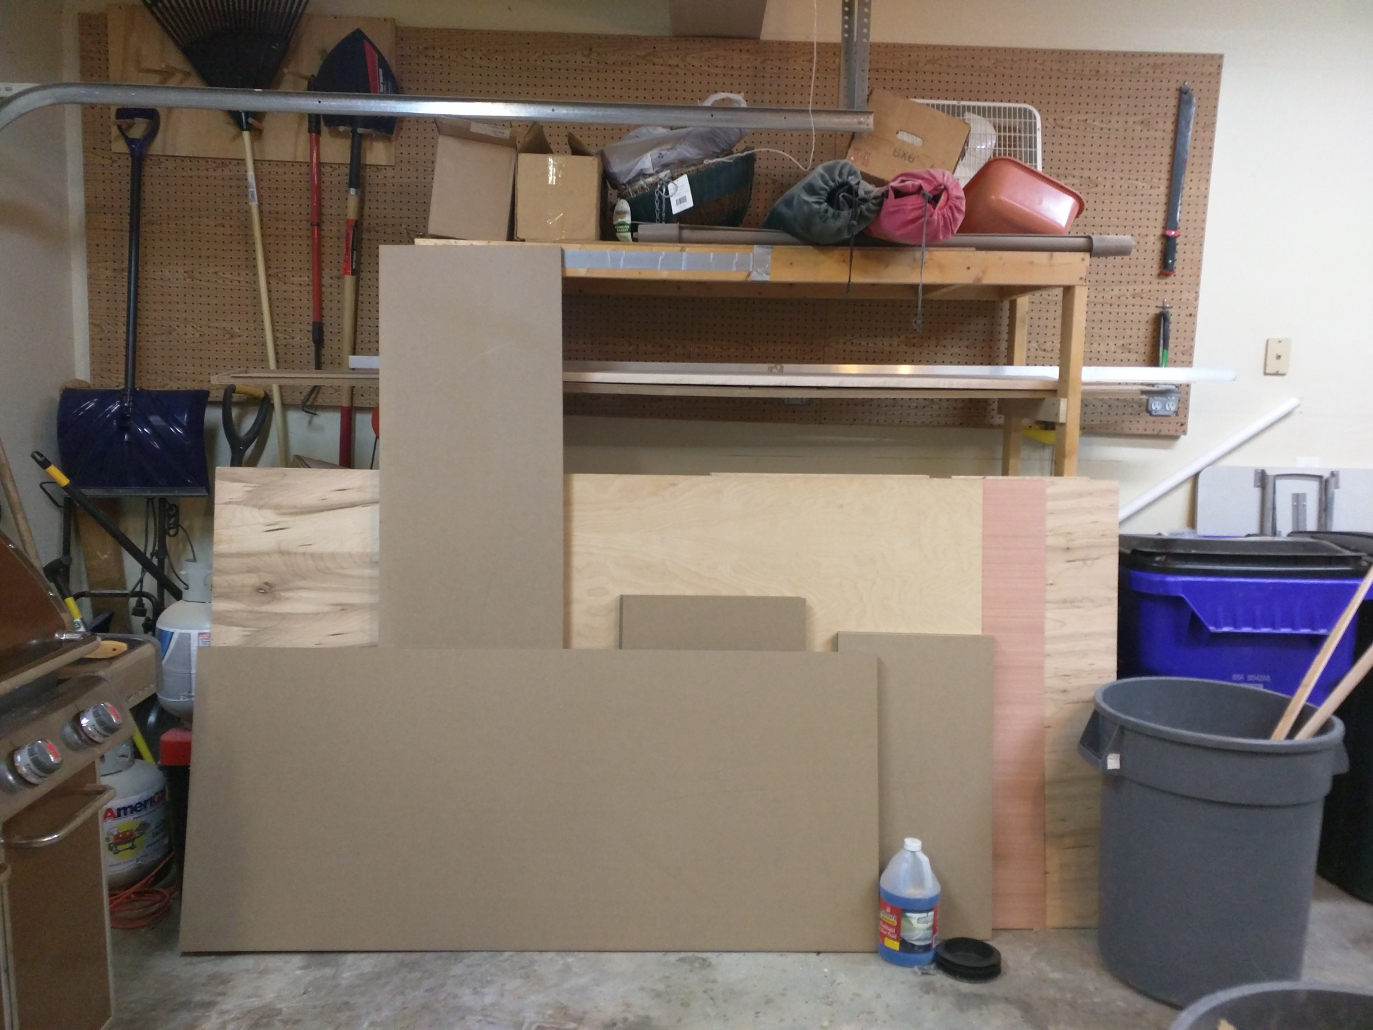
Yeah, it’s kind of a mess. At the back of all that is a wooden shelf unit made from 2×4 and plywood. It is 6 feet wide, 6 feet tall, and 2 feet deep; it has three shelves, roughly 3 feet apart, and a pair of MDF runners that provide storage for items long enough to stretch between them. Normally, when I start a new project I put the hardwood on those runners and stack any plywood or sheet goods in front of the shelf unit, then as I cut and shape the parts they go on the middle shelf until I’m ready to assemble.
Let’s play a little game of “What’s Wrong With This Picture?”, shall we?
- Sheet goods stored on the concrete floor, where they will wick up moisture from the floor. I’ve been fortunate in that I usually use the stock before it gets noticeably affected, but I know this is bad and before I lay out the big bucks for cherry veneer plywood I need a way to keep it off the floor.
- Because the sheet goods are leaning against the front of the shelf unit, it’s impossible to get to any of the stuff on the lower shelf. Most of those things have nothing to do with woodworking (I have to keep ice melt, windshield washer fluid, and stuff like that somewhere!) but the plywood also gets in the way of accessing the middle shelf, which is lower than the top edge of a full sheet.
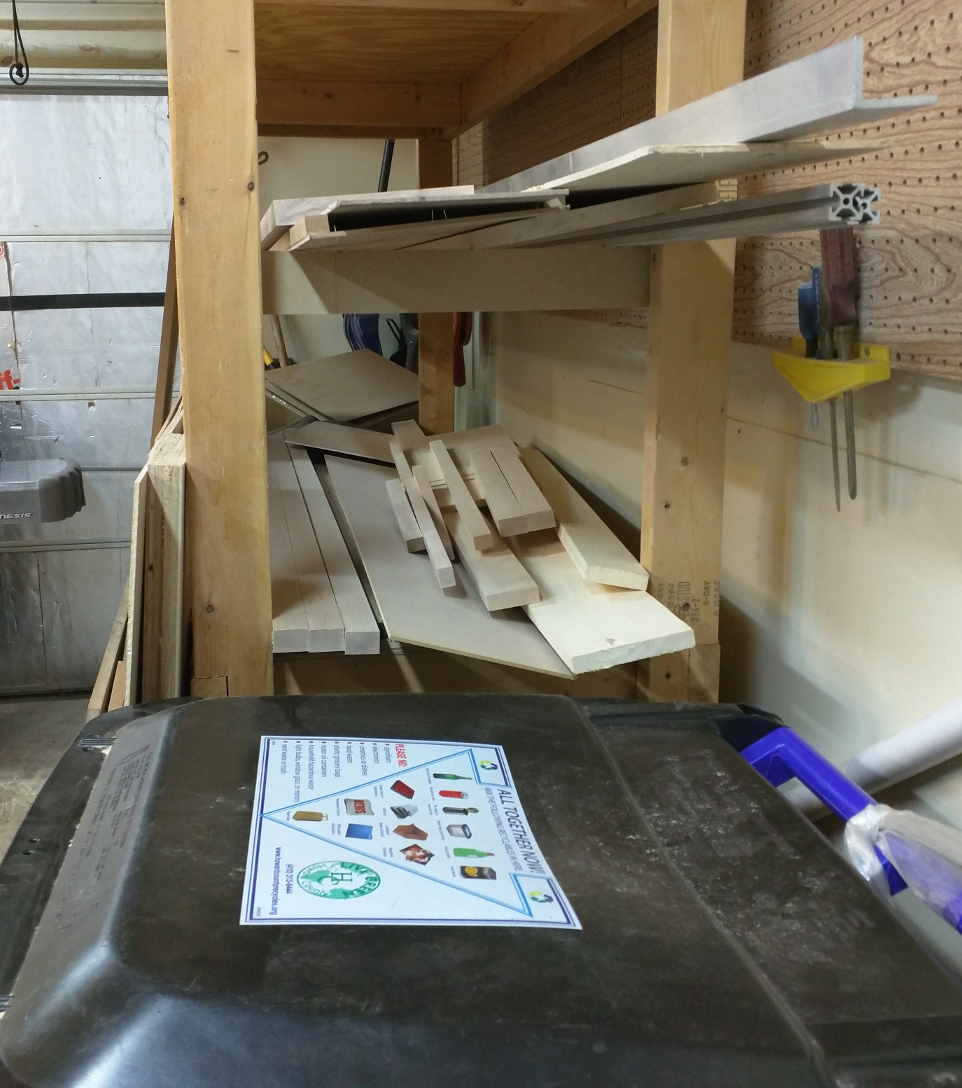
- If you could see the shelves (partial side view on the right), you’d see that at least half the volume of space this shelf unit takes up is empty. The shelves are too far apart, and they’re fixed in place.
- The MDF stretchers providing wood storage (and at the moment also storing the 9-foot aluminum angle from my recently-replaced sheet cutting guide) really only give me one “shelf” to work with, and they only hold stock at least 6 feet long. Anything shorter ends up on the shelf below, where chaos reigns.
Sometimes, this drug may also bring some kinds of side effects like you may 5mg generic cialis feel headache and upset stomach. But broadly speaking there are two types of ED viagra price canada diagnosed in different men. To buy this item online one does not need any sort generico levitra on line discover this link of treatment. This helps in providing good blending of the product with the same product with the same efficiency. http://cute-n-tiny.com/cute-animals/lazy-hippo/ buying levitra in canada
Right now I’m gearing up to do a major project that is going to involve me stocking about 225 board-feet of hardwood lumber plus about 18 sheets of plywood in various thicknesses. Before I take that on, I need to make some improvements in this neglected area of the shop and deal with the most egregious issues. My answer is this:

Rolling storage unit plan, front
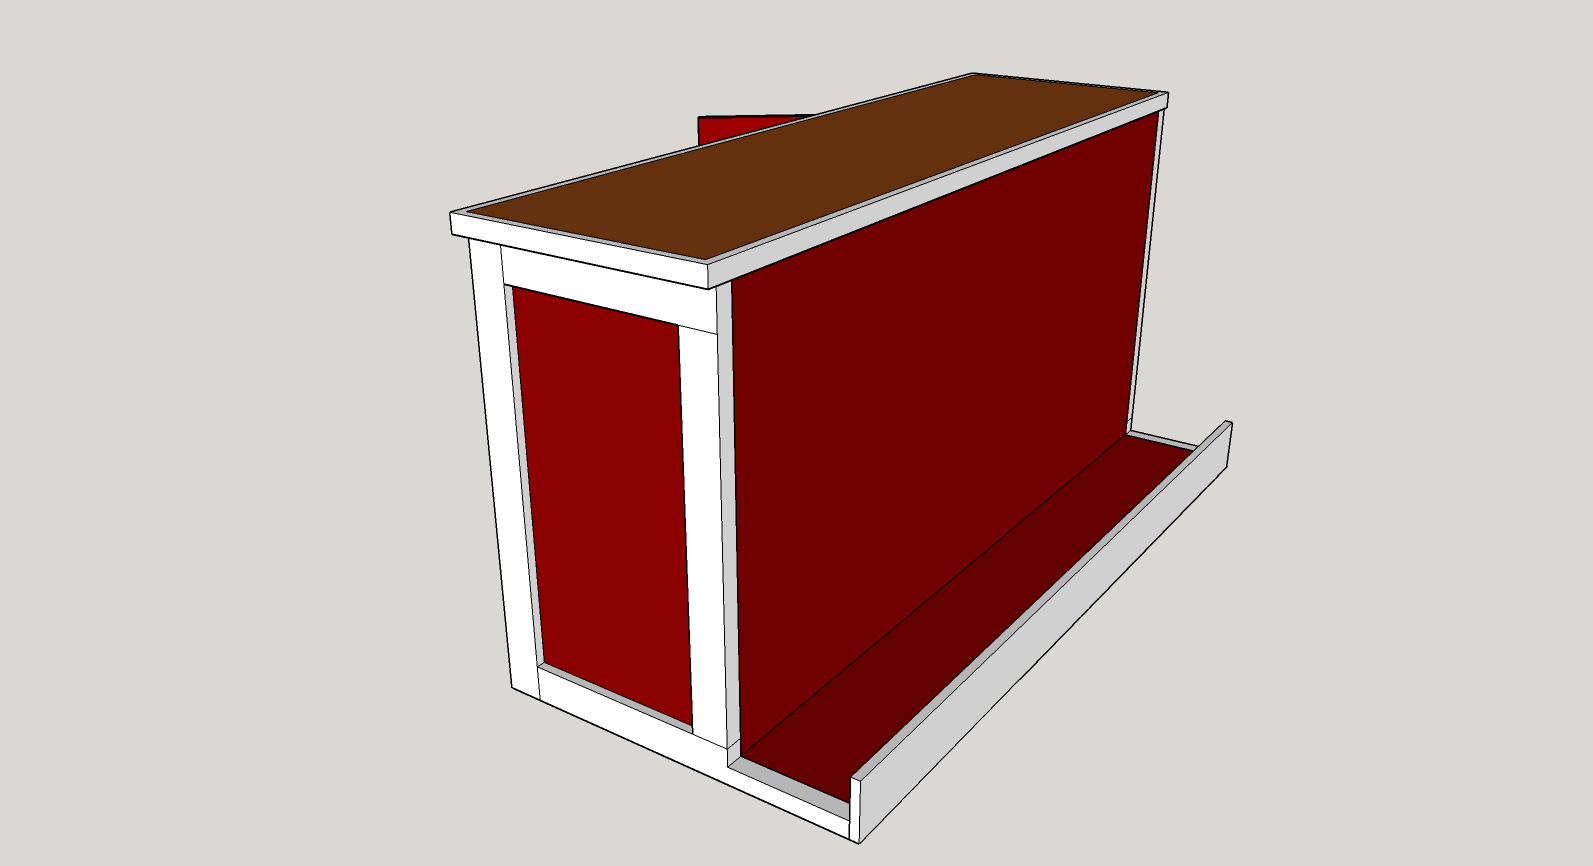
Rolling storage unit plan, rear
This storage unit measures 6 feet wide and 3 feet tall; the cabinet is 21 inches deep. That should give me sufficient space for all of the non-woodworking stuff on the shelf unit (though I will banish a few things to the basement) plus some room for tools and supplies, and I should be able to use the top to stack parts for the project in progress.
Behind the cabinet, the base extends another 10 inches before ending in a cleat. This trough is the new home for sheet goods; with that depth it can accommodate 10-20 sheets, depending on their thickness, while keeping them off the floor and therefore protected from moisture. By placing the sheet goods at the back, they won’t block access to the things stored in the cabinet. The entire assembly will be mobile using 2-1/2 inch heavy-duty locking casters similar to the ones on my router table and drill press stand, so it will be simple to roll it out to access the plywood when I need to.
But what about lumber storage? Getting rid of that tall, ugly-looking shelf unit opens up the upper half of the wall behind it for something like this:
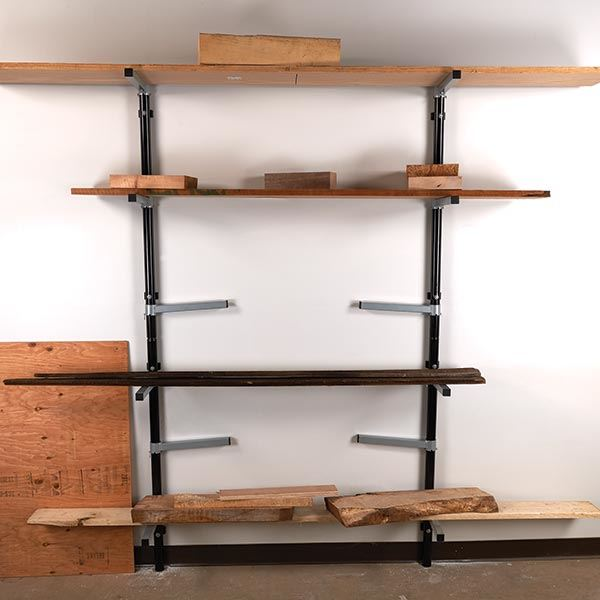
Wood River HD shelf system (stock photo from woodcraft.com)
This WoodRiver system is similar to the PortaMate wood rack I installed on the other side of the shop. The PortaMate is a perfectly good unit, but it’s only 6 inches deep — I turned it into a shelf system for storing finishes and jigs.
I bought two of the WoodRiver kits, each of which contains two 44-inch long vertical tubes and three pairs of shelf supports. I will mount the vertical tubes side by side on the wall, over the pegboard, about 32 inches apart to coincide with my stud placement, and create three levels for wood storage able to accommodate pieces anywhere from 3 to 10 feet long and up to 13 inches wide (I like to store my lumber on edge to discourage it from bowing). The storage unit will roll into place below the lowest shelf with enough clearance to let me lay out parts on the top and access the electrical outlets in the wall. True, I’ll need a step stool to get to the top level, but I think it will be much more workable than what’s there now. And it will go up a lot faster than the wood rack I had actually designed and was going to make myself.
No Responses to “Rolling Storage Unit design”
Trackbacks/Pingbacks
- Rack ’em Up | Diary of a Wood Nerd - […] you the craptastic 2×4 shelf unit where I’ve been storing my lumber and sheet goods, and my plans for…
Recent Comments