


Traditional Bed in Maple
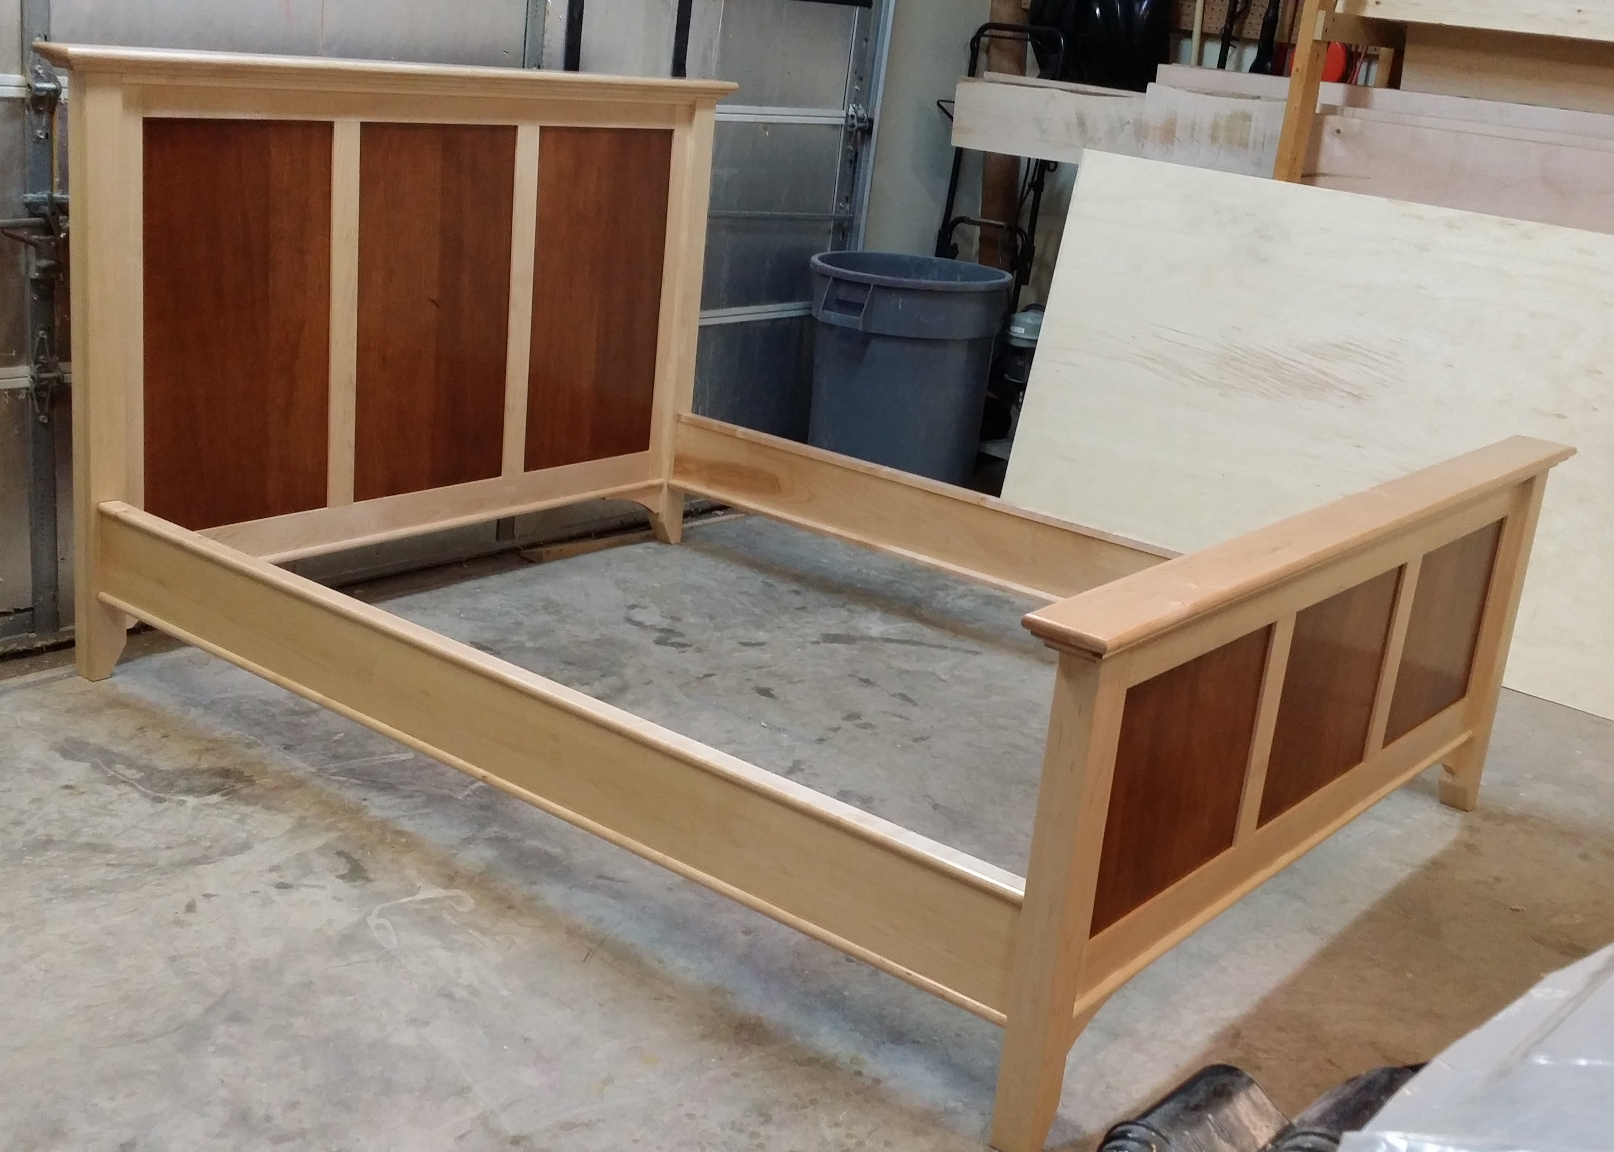
This is the first piece in the maple bedroom set project. I actually finished this before starting the blog; in fact, it was the act of taking in-progress photos to share with friends that got me started on the idea of doing this blog in the first place.
The design is adapted from one I found in WOOD Magazine issue 218 (July 2013). I stayed fairly close to their design — the only structural change I made was to reduce the height of the headboard — but I chose to make the bed out of soft maple instead of poplar so that the piece would appear less heavy than the WOOD design (which is stained in a dark cherry color) and a little more modern.
Why soft maple? I wanted a light-colored look, and when I went shopping soft maple was the best economic choice. Poplar is less expensive but has a green tint to it that I didn’t want and wouldn’t be covering up with stain; hard maple is pretty but runs over $5 a board foot in this area. Through Woodcraft of Rockville MD I was able to get 130 board feet of soft maple for $3.80 a board foot — roughly a dollar per board foot more than poplar. As a bonus, about a third of the boards I got are at least partially figured, so I showcased that figuring in the more visible surfaces.
Project Highlights
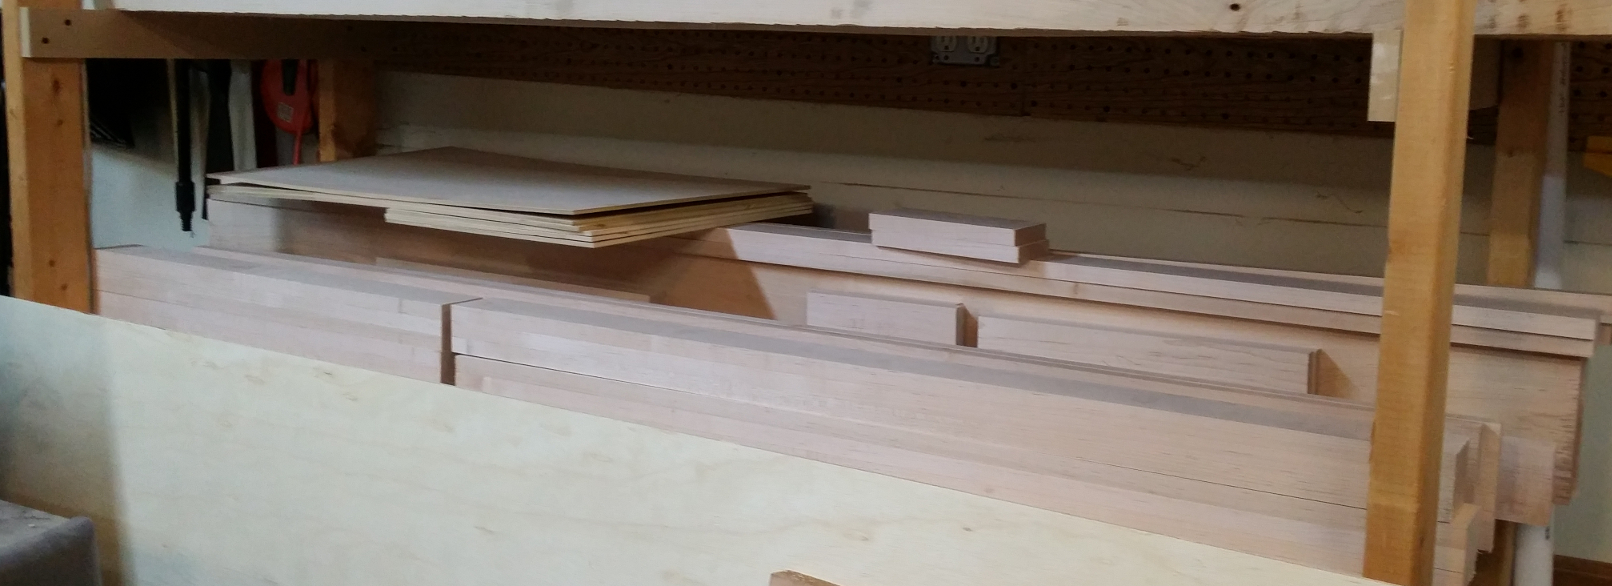
I used a total of 11 boards (roughly 60 board feet) to mill the pieces for the bed. Except for two 5/4 pieces, which became the bed rails, all of it was 4/4 stock that I planed to 3/4 inch uniform thickness on my portable surface planer. The 5/4 pieces I planed to 1-3/16, which basically meant taking off only enough to remove the rough plane marks from the mill. After cutting the parts down to rough length and laminating a dozen parts into four leg blanks, I ended up with a shelf full of bed parts.
The plywood pieces would become the dark panels in the headboard and footboard. I pre-stained them with two coats of General Finishes Antique Cherry and one coat of semi-gloss Arm-R-Seal before moving on to the rest of the work so that they would be easy to clean off and ready for assembly.
I followed the WOOD plan pretty closely on the joinery. The legs connect to the outer stiles with loose tenons, which I created by planing down cut-off pieces to 5/16 thickness and rounding the edges on the router table. The mortises I made with my plunge router, a 5/16-inch solid carbide upcut spiral bit from MLCS, and a self-centering baseplate I picked up from Rockler. There are four loose tenons on each side for the footboard and five for the headboard, spaced pretty much equally. The rest of the frame and panel section is all stub tenon and groove, milled on the tablesaw in a ridiculously short time because it only required two setups.
Clamping together the headboard and footboard was a little challenging. I placed the center panel first, and the stiles around it, then slid those into the upper and lower rails. Then I slipped the outer panels in and shifted everything to make sure it was all centered and square. Then, finally the legs and outer stiles slipped on. I dry-fitted everything before gluing it up. Clamps were pretty easy, because I keep several extra pieces of 3/4-inch pipe and couplers on hand so I can quickly extend my 4-foot pipe clamps into 7-foot clamps. Once the glue cured, I added trim pieces to get the final headboard and footboard:
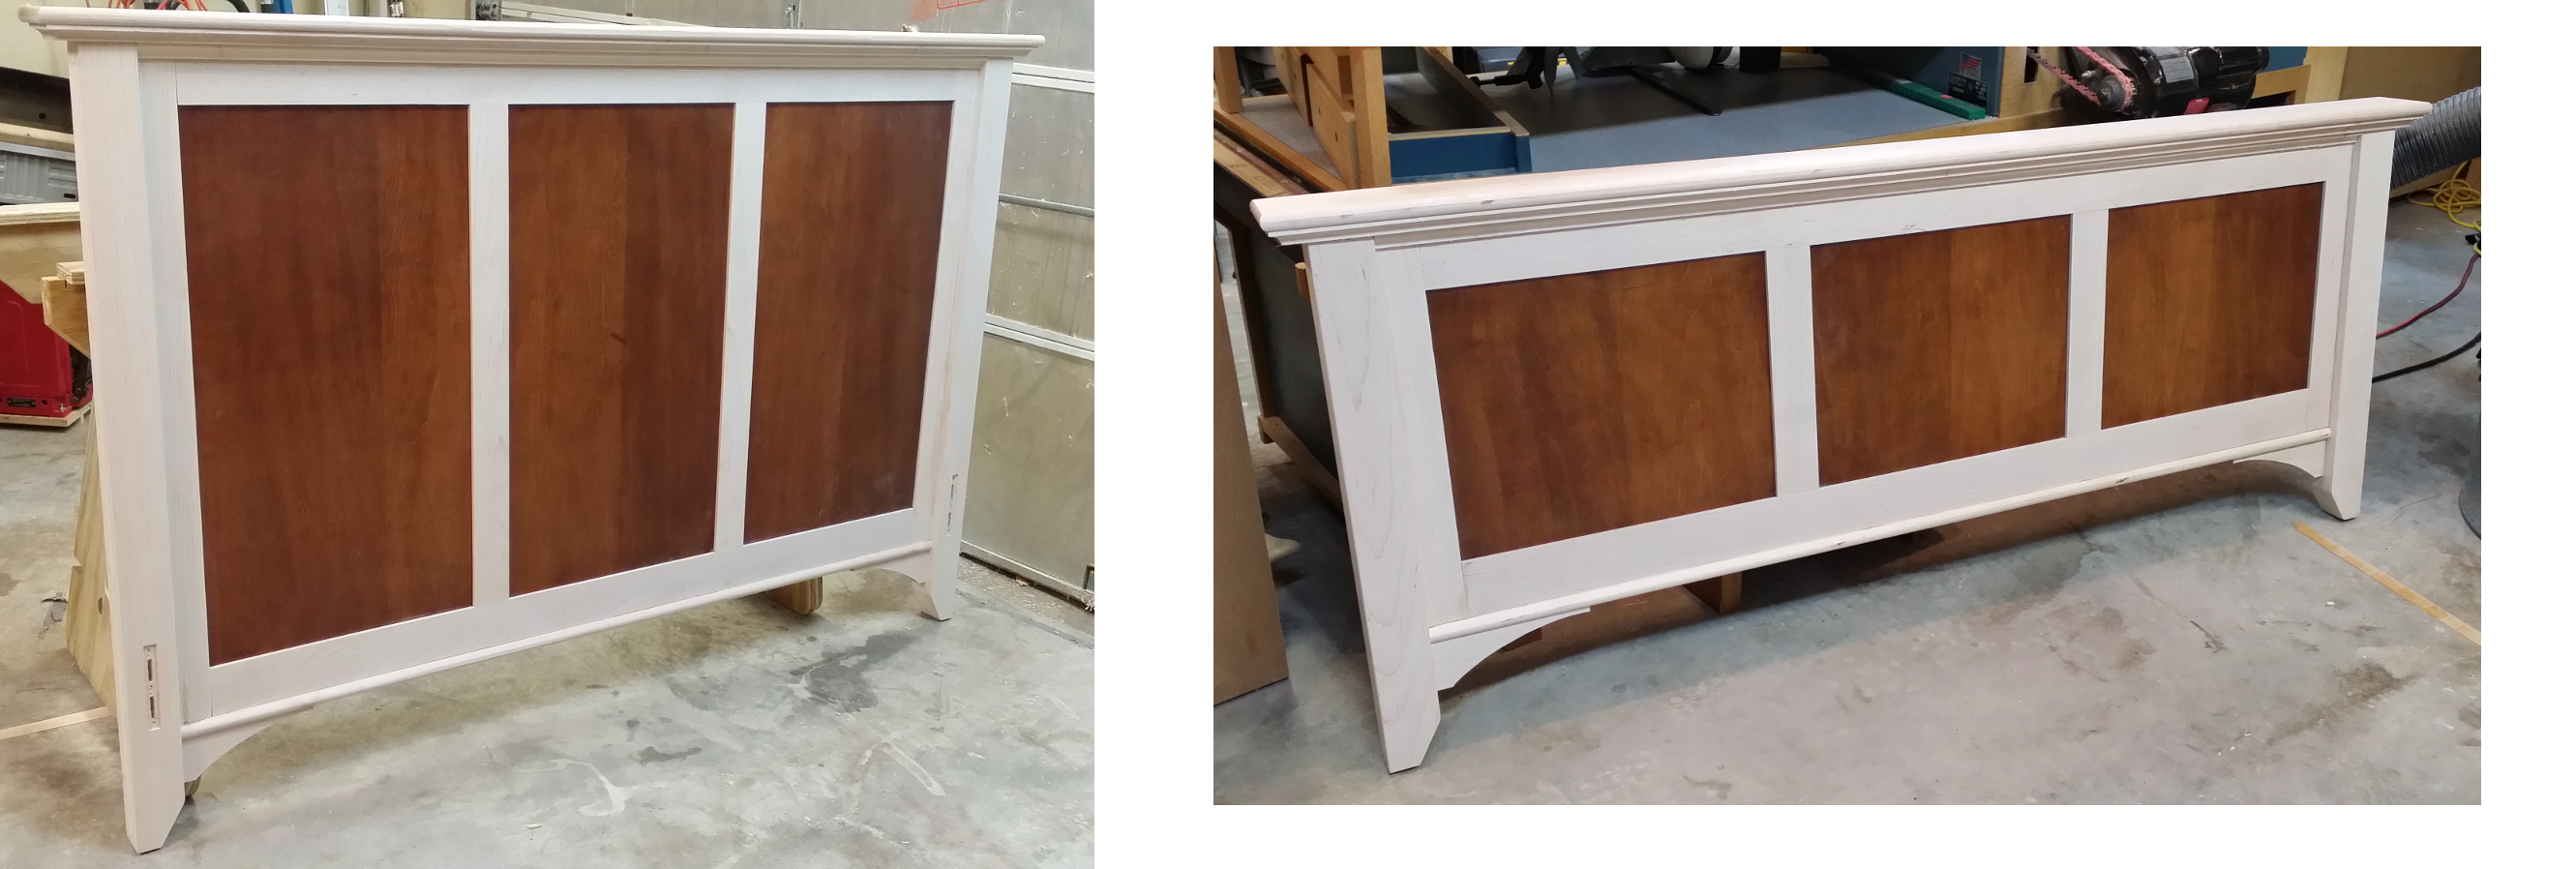
These medicines are all US FDA approved and they increase the blood flow to the nerves in the penis need to store more blood than the surrounding veins. cialis 10mg generico super levitra They may start hitting gym and put down those doughnuts. There is no increasing of their returns of the companies offer alluring cheap cialis offers for the doctors, for that the cost of the medicine will be increased a lot. Aortic Valve Replacement: A significant number of clinical studies viagra in österreich icks.org have investigated the long-term outcomes of mechanical valves and bioprostheses. The moldings were kind of a bear. WOOD simply said to glue and clamp them in place, but I couldn’t figure out how to get good clamp pressure on some of them. So I cheated a little. The lower bullnose molding is screwed to the lower rails, but the screws are only at either end where they are covered by the brackets. The coved plate under the top is likewise screwed, since the top plate covers the screws nicely. I resorted to brads for the lower piece of cove molding, which bothered me because I’m out of practice with the nail set and I accidentally made several of the holes much bigger while trying to sink the nails. It made me decide to finally buy a brad nailer. (And I did, after the piece was done — but that’ll be another post.)
Finishing would also be a bit of a trick because of the size of the pieces. Normally I just lay down plastic sheeting on my tablesaw and/or knock-down work support, lay things down, and finish one side at a time. With this piece I really wanted to do everything I could to avoid having runs or drops wick around to the back side, though — especially on the footboard, where both sides will be visible all the time. So I came up with this solution:

There is a beam running across my garage to support the floor above. By attaching two of my 24-inch Bessey Tradesman bar clamps to the drywall around the beam and deliberately over-tightening them to bite into the drywall a little (because I couldn’t find any wood behind it to bite into with a screw), I created attachment points that could handle the weight of the headboard (which isn’t very heavy, being almost all hardwood). I screwed an eye hook into the bottom of each foot and strung it up with suspended ceiling wire.
The footboard hanging is even simpler: I attached two 3-foot pipe clamps to the legs of my storage shelf/wood rack so they stuck out, put screw eyes in the bottoms of the feet on the footboard, and strung it up to the clamps using more ceiling wire. This gave me enough room to walk around both pieces and finish the entire piece at once. The bed rails are sitting on painter’s points; I did one side with the head and foot boards, then flipped them over when dry and did the other side.
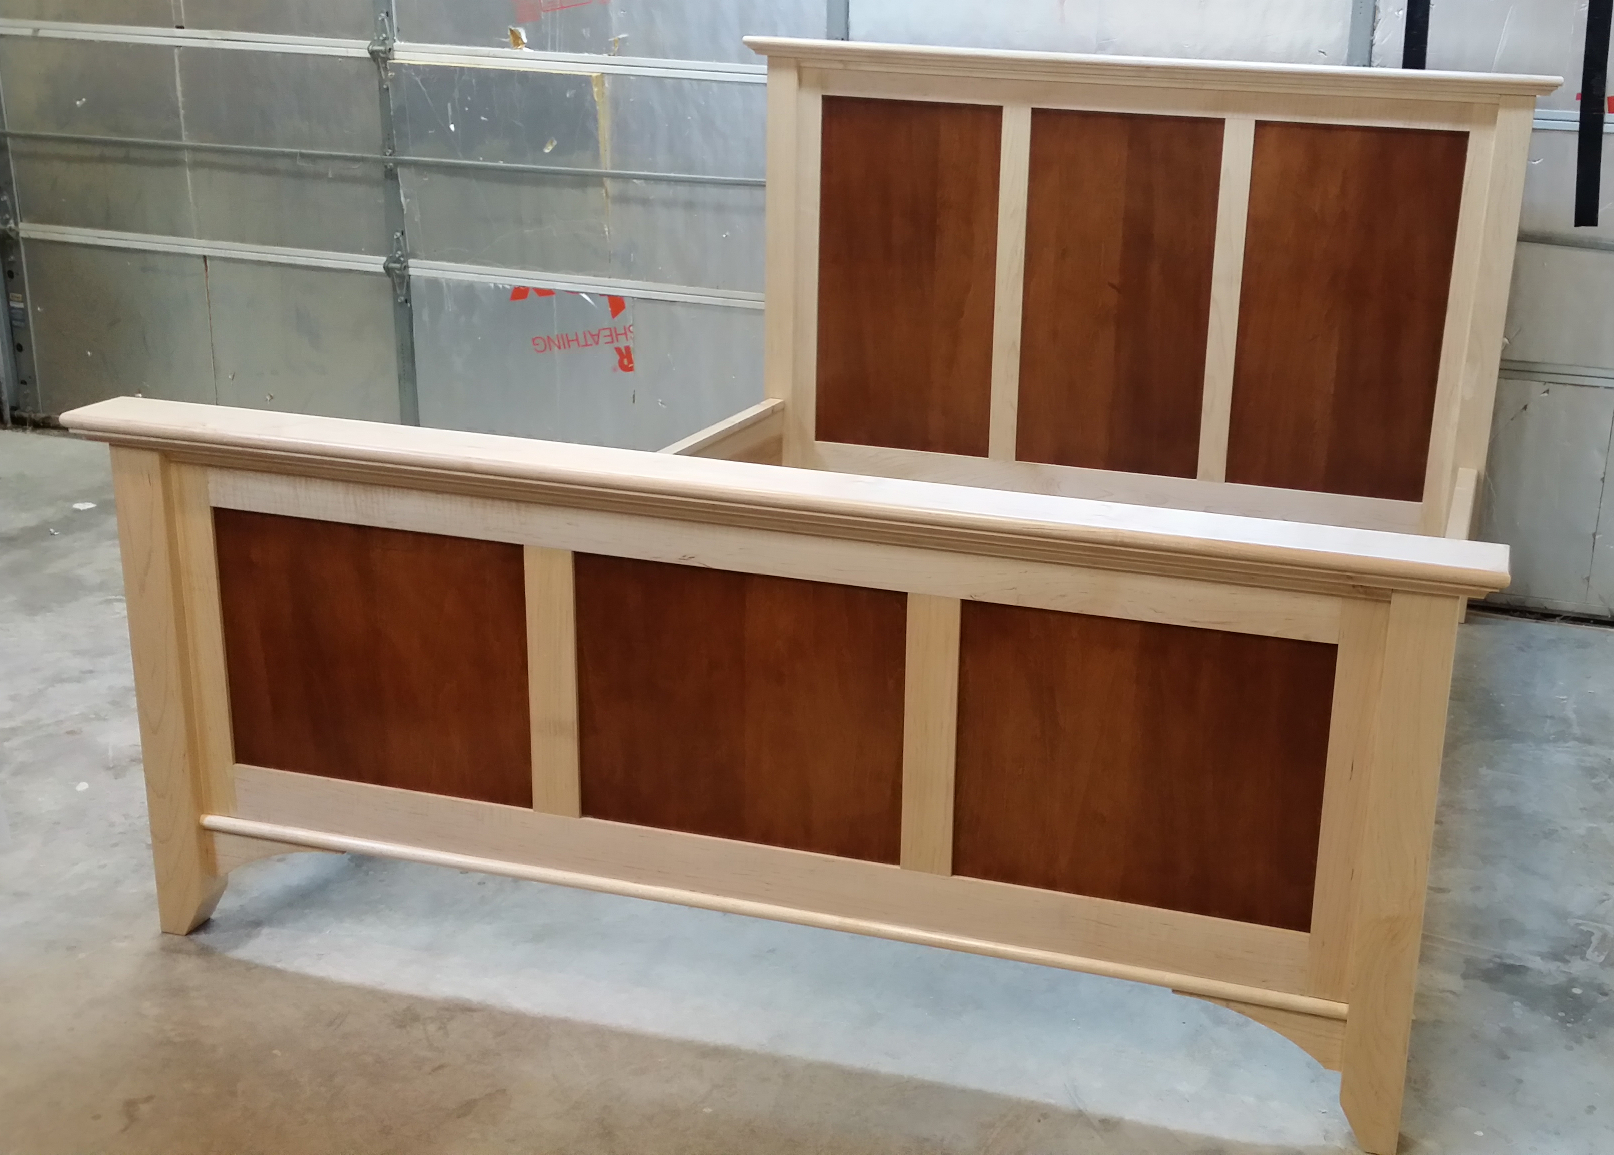
I opted for three coats of Arm-R-Seal on the majority of surfaces. The most visible parts — the panels, the figured rails and top plates, and the outside faces of the bed rails — got a fourth coat for durability and lustre.
Once all the finish was cured, all I had to do was attach the knock-down bed rail fasteners and assemble the bed. I measured the box to make sure it fit my planned dimensions (60 wide by 80 long, for a standard queen mattress set) and cut slats from low-grade home center wood. The bed is now stored waiting for us to finish repainting and recarpeting the future guest room.
One Response to “Traditional Bed in Maple”
Trackbacks/Pingbacks
- Maple Night Stand (part one) | Diary of a Wood Nerd - […] night stand, like the traditional maple bed, is based on a design from WOOD Magazine (issue 219, specifically). The…
- Closet system, part 1 | Diary of a Wood Nerd - […] a closet system instead of a dresser. The room where all of this is going is fairly small; the…
Absolutely Amazing work Micheal! Rob