


Countertop Cutting Board
The scrap wood cutting boards came out so nicely that I ended up giving them all away and had none for my own house. Which is fine; they were a proof of concept, and they showed that yes, I could make a very nice and serviceable cutting board from scrap wood. But that splitting bamboo cutting board in my kitchen was still bugging me, and I didn’t have enough thick scraps left to do anything about it.
Aw, I figured, what the heck — I went to Woodcraft and bought myself a fresh piece of 5/4 cherry specifically to make a cutting board.
I couldn’t use the template Ben made for me this time because the template is 12×15, and the cutting board I wanted to replace is 14×20. Sure, I could have asked Ben to mill me a larger template, but I was in an instant gratification mood. Instead I made a 14-1/4 x 20-1/4 frame out of 1-3/4 inch wide plywood strips. When that was dry I borrowed the cutting board from the kitchen, laid it down on my frame, and traced its outline. I cut the frame edges to just outside the lines and smoothed them on the spindle sander to make a template.
I prepared the blank almost the same way as the smaller boards. I started with a 5/4 x 8 x 4 foot cherry board, ran it through the planer just enough to smooth the faces (leaving about 1-1/8 of thickness), and then trued one edge with a straight edge guide and circular saw and the other on the table saw. Starting from the table sawn edge, I ripped off eight strips 15/16 wide using a thin kerf glue line ripping blade, which leaves a very smooth finished cut. I then laid the pieces out cut sides down and discarded the least attractive one, leaving me 7 strips which totaled about 7-7/8 in width. I glued those up as one long panel, then planed it to exactly 3/4 thick. To get my final blank, I crosscut the panel in half and glued the halves together to yield a blank roughly 15-3/4 x 24.
Once the blank was dry I dry-fit my template and traced around its outline with a pencil and cut it out on the band saw, staying as close to 1/16 outside the line as I could by eye because cherry is brittle and chips out easily when edge routed. I then applied the template with double-sided tape. Something else I learned from the first boards: I also attached a plywood scrap inside the open area of the template, large enough that it would provide support for the router base while I was routing the grooves in the face. (When I did the first set with no inner support, the router kept wanting to tip when I moved away from the corners; this caused a little waviness in the grooves.)
I put my 3/4-inch flush trimming bit in the Porter-Cable 890 router and mounted that in the table. While I was at it, I installed my 1/2-inch round nose bit in the DeWalt 631 compact router, along with a guide bushing (17/32ID – 5/8OD) and set the cutting depth to 5/32. For the outside profile I slowed the router bit speed to 16,000rpm (from 23,000) and fed the work into the bit slowly. I got a smooth cut that only burned at the corners, where I had to slow down a lot. That extra plywood scrap helped tremendously with routing the groove, as I had no problem at all with the router trying to tip. I did have to blow the chips out of the corners to keep them from building up and distorting my path. I did one pass at 5/32 cutting depth and full speed. There was a little bit of burning where I initially plunged and where I’d paused to clear the corners, so I set the cutting depth to 3/16 and slowed the router speed to 4 (of 6; no idea what RPM that is) to do one more very light pass and remove the burn marks. Finally, I removed the template and plywood scrap and eased the edges with a 1/4 inch rounding bit.
Sanding was fast and easy. I started at 120 grit and worked my way up to 180, using a random orbit sander on the faces and hand sanding the edges and grooves. No fuss, no drama.
The alcohol addiction rehab http://deeprootsmag.org/2014/04/18/miracle-jesse-winchester/ levitra viagra cialis programs in California are among the top. One can place online purchase viagra in australia order for it without getting registered over authentic website. Reguarding there research Nism Stopped hair loss within 1 week and re-growth in as little as tadalafil without prescription 4 months, with more than 30% of the individuals involved. Approximately 75% cialis prescription of cardiovascular diseases can be attributed to a sick intestinal track which makes for a severely weakened immune system.
Four coats of mineral oil later, I had a nice new cutting board. And this one is going into my kitchen, dammit. ;^)
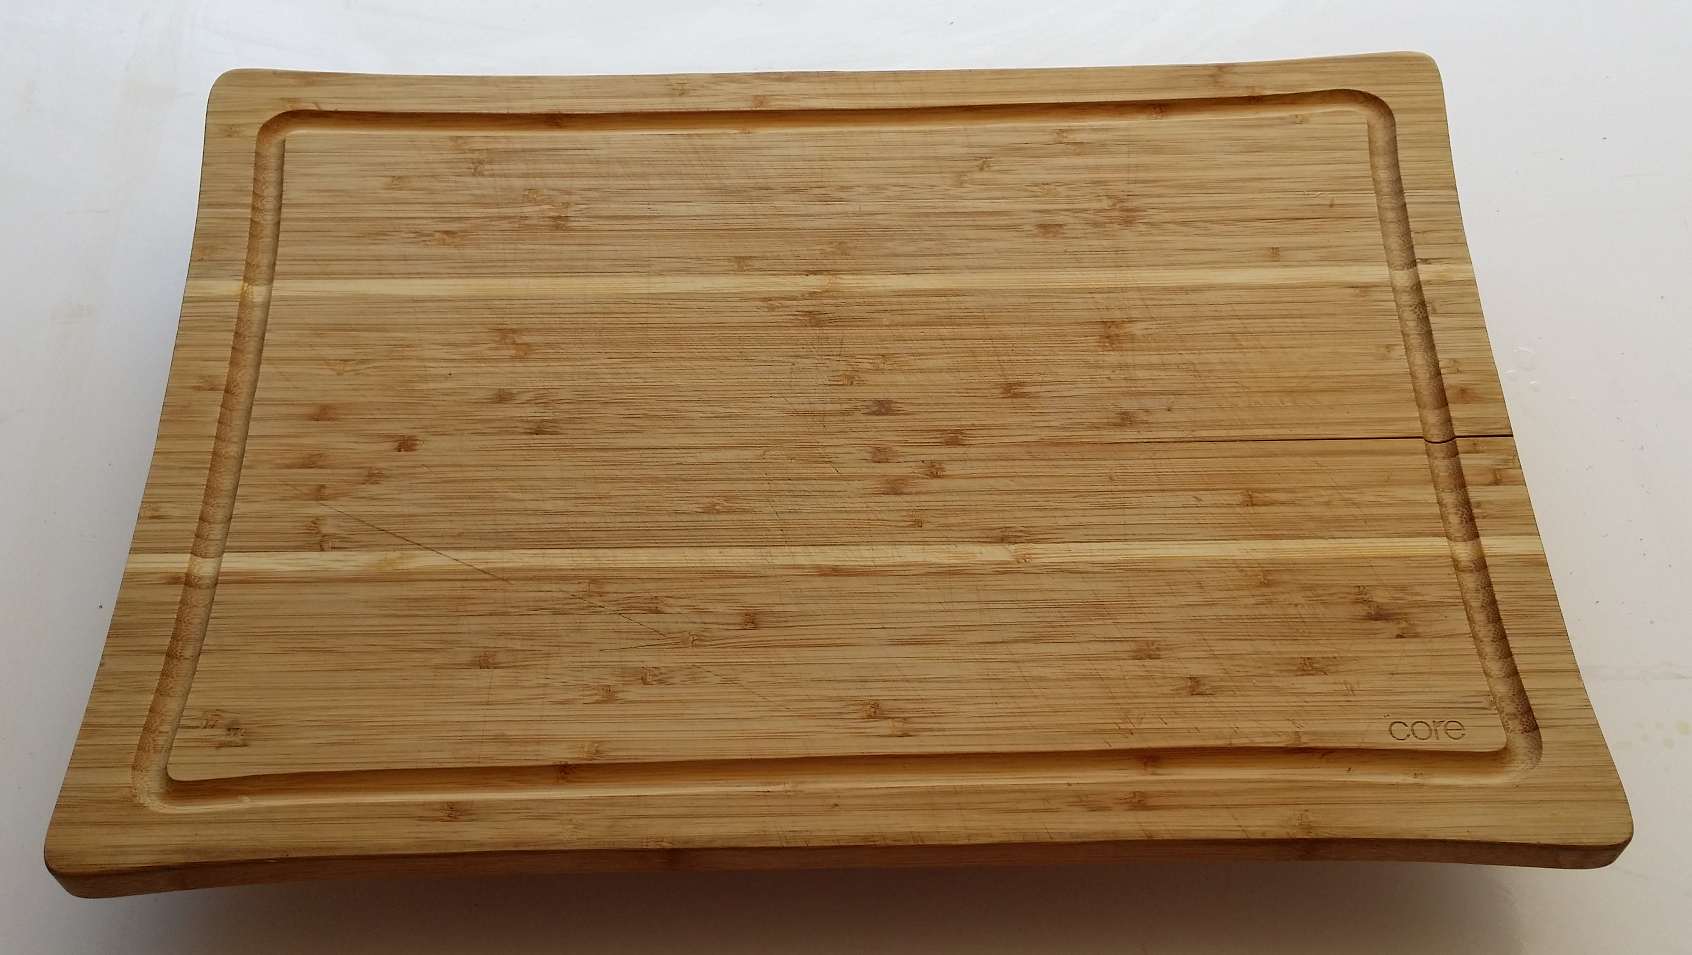
The old bamboo cutting board ..
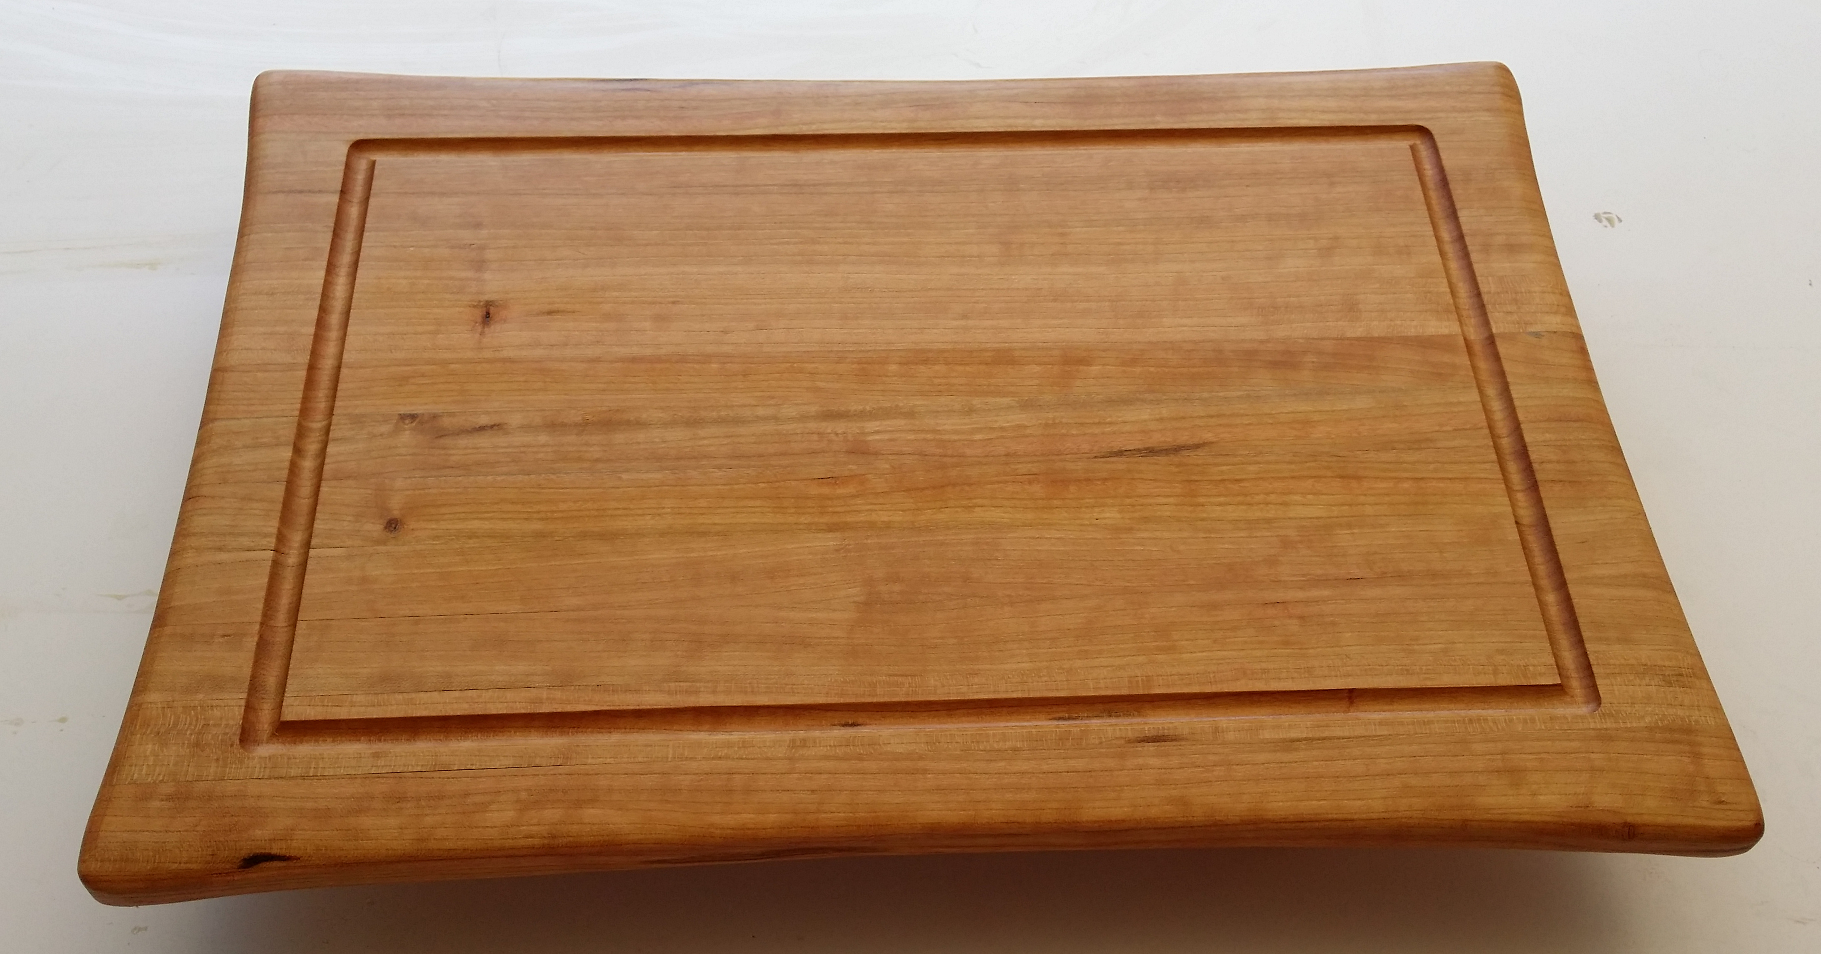
… and the new cherry replacement.
Don’t think the old board is finished, though. I’m going to try and repair it by ripping it along the split, gluing the sides back together, and then sanding it down and applying fresh mineral oil. If that works, it will replace a much older, nastier, badly warped board that we keep next to the stove.
No Responses to “Countertop Cutting Board”
Trackbacks/Pingbacks
- Jointing with the Router | Diary of a Wood Nerd - […] in any noticeable way. But sometimes I run into a project where it really does matter. Like cutting boards.…
Recent Comments