


Storage crisis 2
This was just a little thing, I didn’t even start from a full 3D model on this … just a pencil and paper drawing of one side:
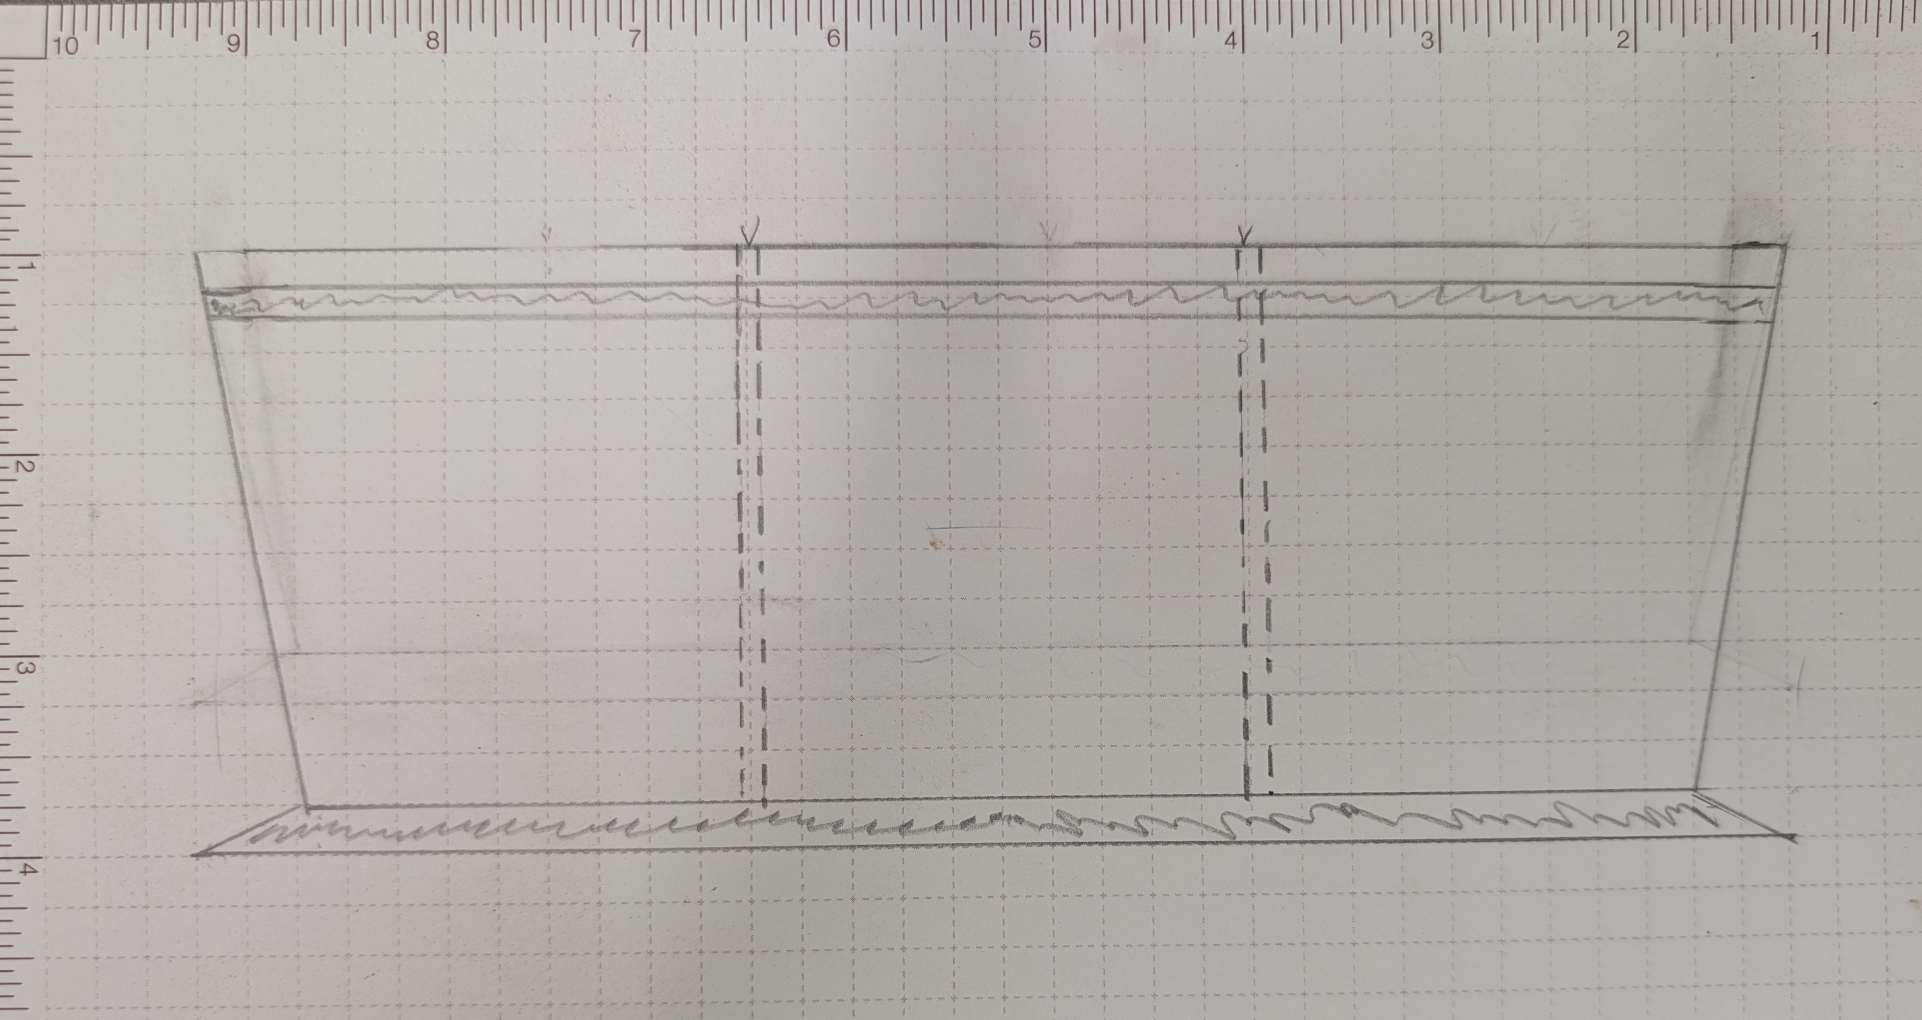
This is to replace the ancient Enfamil can, Solo cup, and miscellaneous pile on top of the back unit where my writing implements, stir sticks and glue brushes reside. I had a particularly heavily spalted piece of hackberry and plenty of Peruvian walnut, and a weekend free before I start the next projects, so I scratched this itch.
I took my hackberry, which was 6″ x 36″, and made 4 cuts at 1/4″ intervals on what would become the top of the box. Then I glued it back together, preserving the pattern in the spalting, but putting three thin strips (about 7/32″ each) of the walnut in between. This made the board a little wider, and gave it some color to balance the base I planned to put on this.
After smoothing it on the one side by hand and taking the planer to the other side, I then resawed the board into two pieces and planed those smooth, resulting in two half-boards just a hair over 1/4″ thick. That was a little thinner than I really wanted, but the hackberry was only 3/4″ to start with and I had to plane it twice, so that was a reasonable amount left.
Next I cut the four sides square, and realized I had enough material to also make the two dividers, so I cut them as well. Once they were cut square, I had to figure the angles. I admit I miscalculated one, so the overall piece ended up at 14 inches wide instead of 16, but it’s still plenty big enough for its purpose. It took a 10-degree angle on the miter gauge and 45 degrees on the blade to get the pieces to fit together with mitered corners.
Next I dadoed the long sides 4-1/2″ from each end to accept the dividers, and I taped it all together for dryfit. It looked good, and I really liked the way the stripes met up everywhere. I gave all those parts a good sanding, then measured and cut the base from 1/2″ Peruvian walnut. This also got sanded (and the edges beveled on the table saw and block-planed into a curved end).
I thought about pre-finishing the insides, but opted against it. I’d take that back if I could and do it, because finishing the bottom was a bear. Hindsight and all that. But I glued the main parts together, then carefully trimmed the dividers so the stripes would stay lined up, and glued them in. Lastly the bottom got glued on. This wood is so thin I really didn’t have room to use any mechanical fasteners, so it’s only held together with glue. It worked for the dice towers I made years ago, so it’ll probably work fine as a pen/stick/brush cup.
A single coat of Gilboy’s hard wax oil, and it was ready for photos.
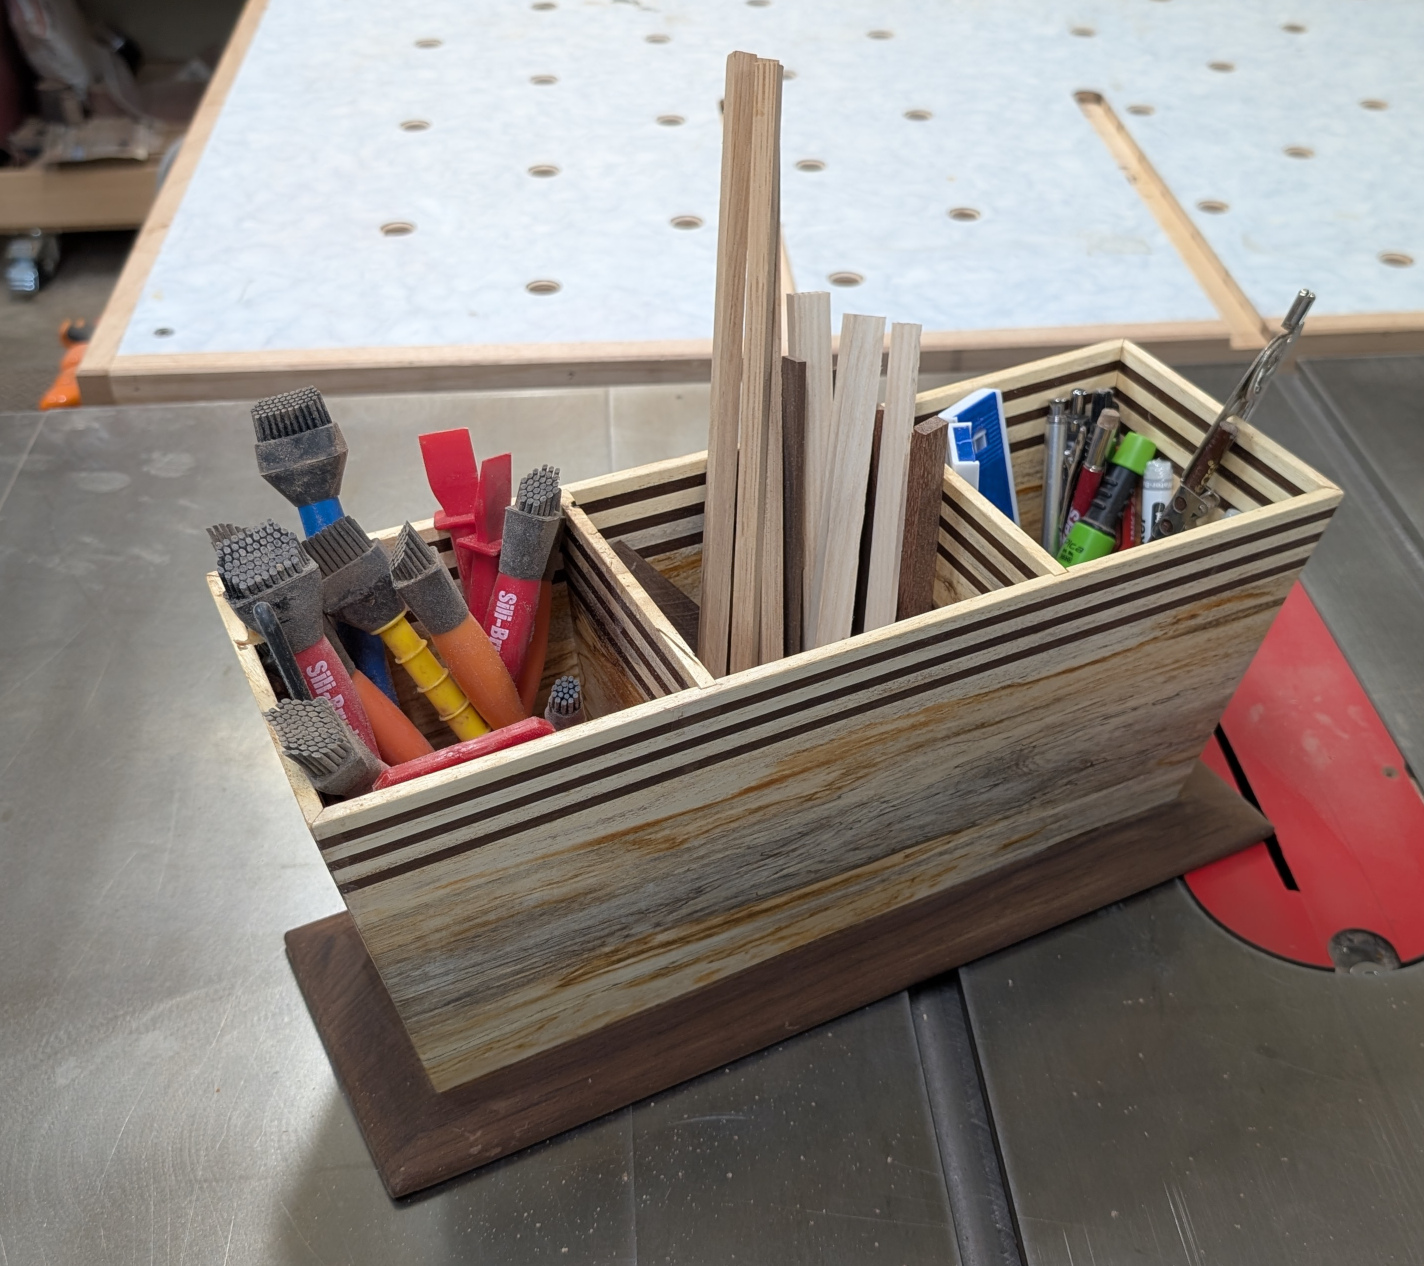
This relieves some of the clutter on top of that back cabinet, and the heavy spalting really makes the piece. This was a good use of it, because there wasn’t enough to do anything much bigger.
Leave a Reply